
My mentor teacher had a small fortune in paint swatches and I figured they would be a good way to teach students about one of the most basic color harmonies: complementary colors. The swatches also offered an opportunity to talk about other fields that connect to the arts, such as fashion, graphic, and interior design. In every 3rd grade homeroom I did this lesson with, there were several students who had seen these swatches at various home improvements stores, and one student in particular recounted how she and her sister have fun scanning all the swatches to see how much the paints cost.
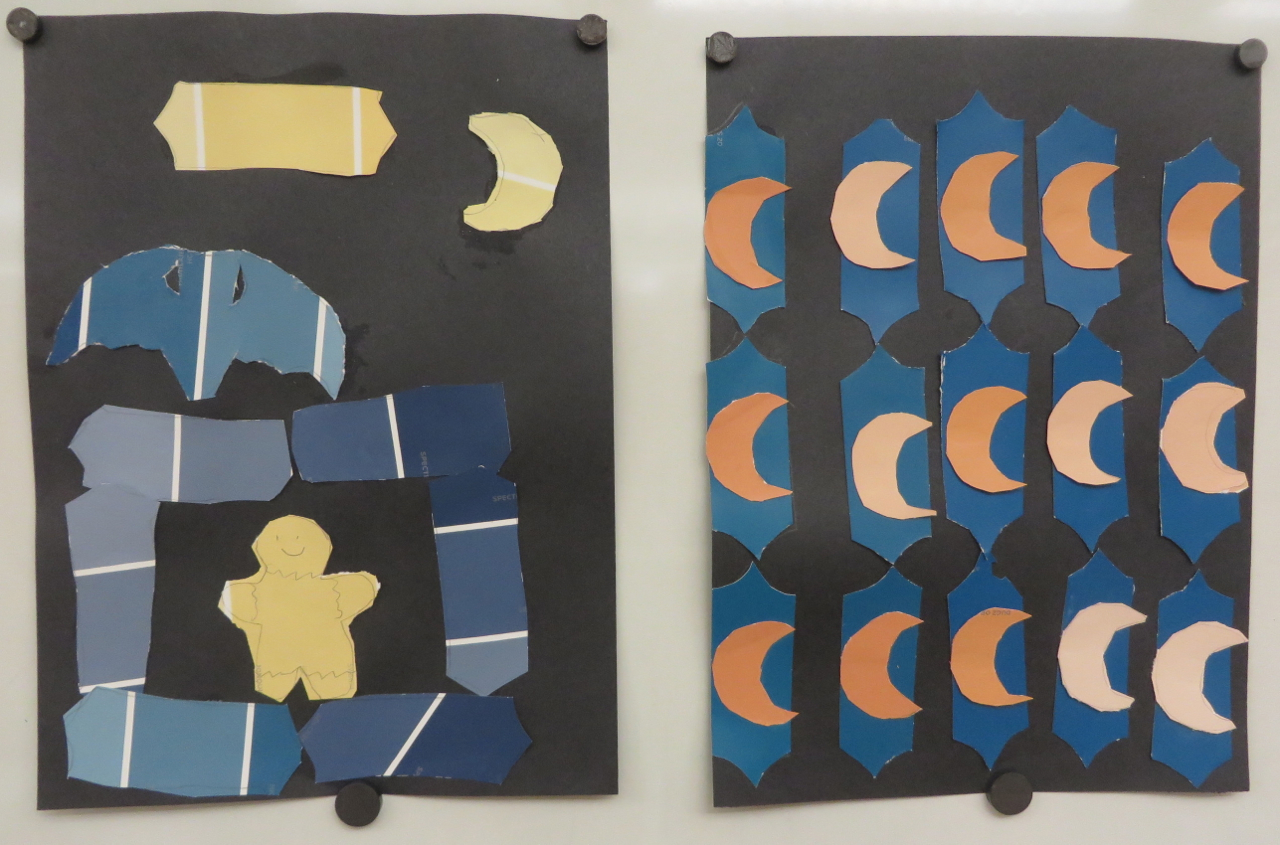
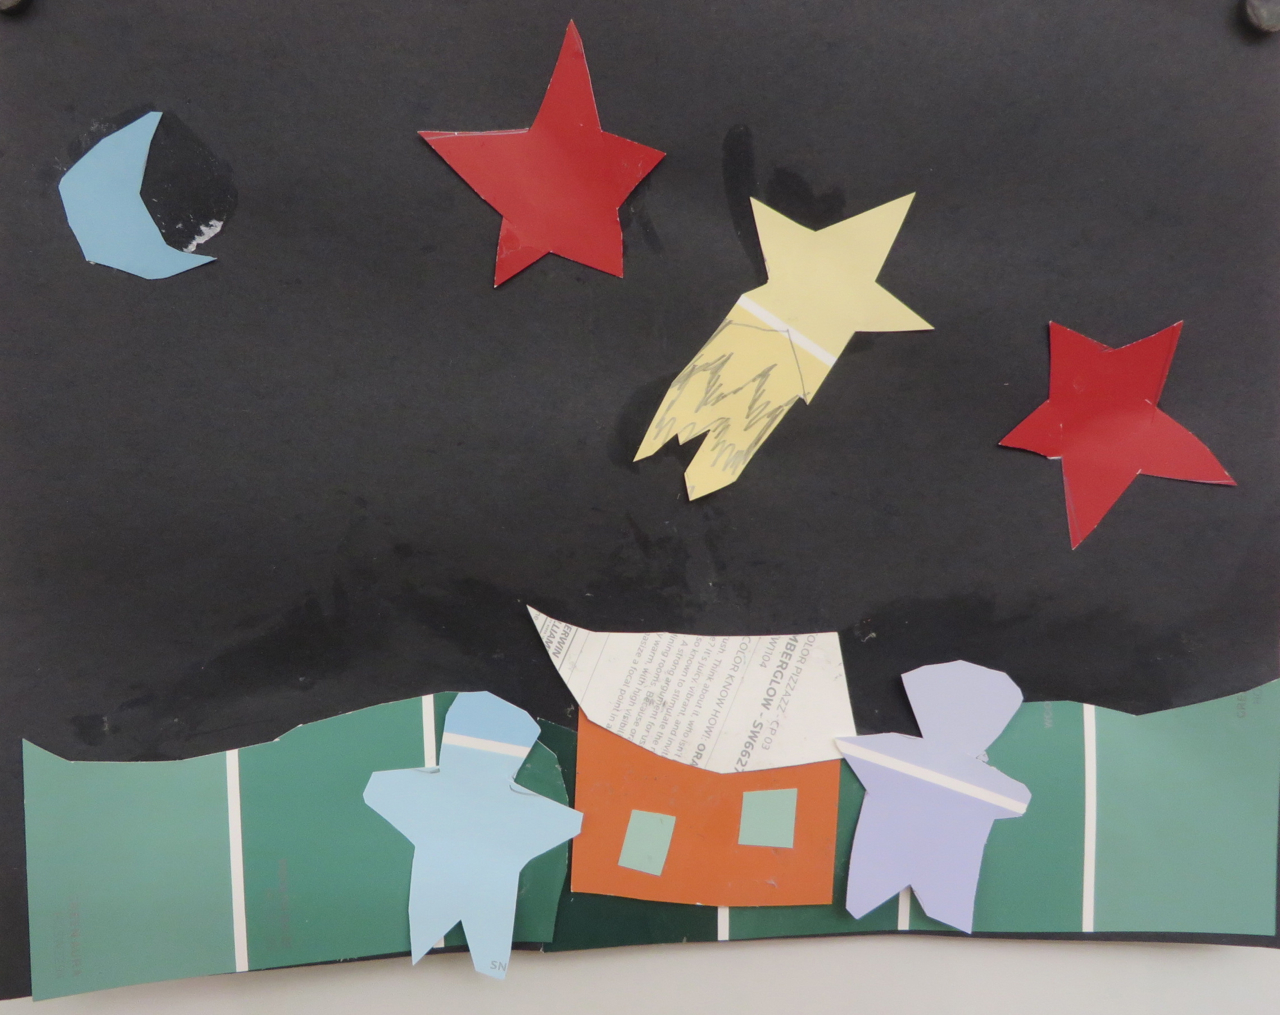
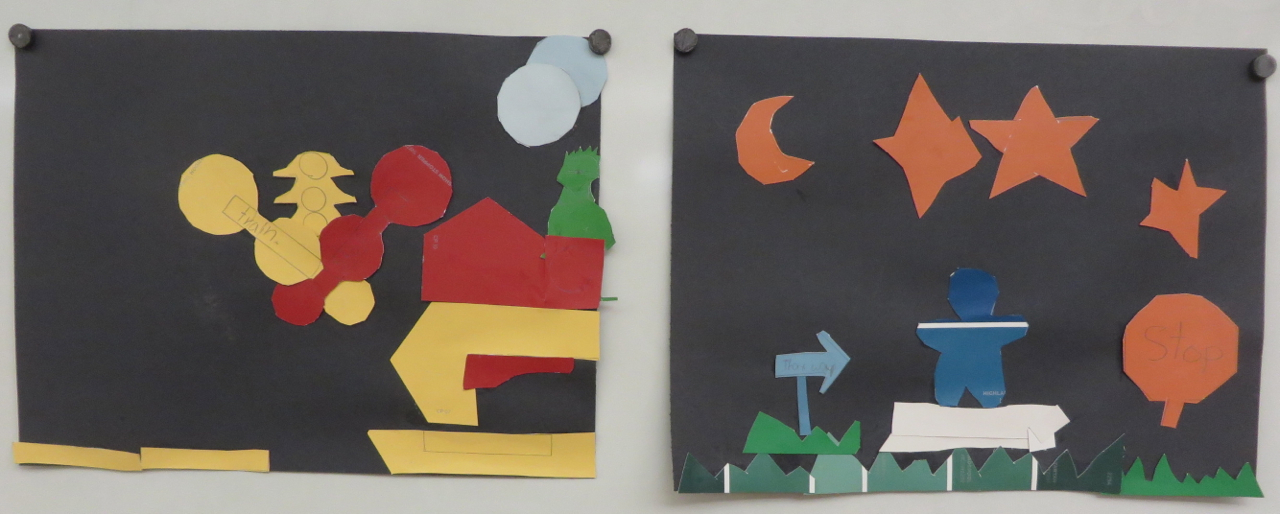
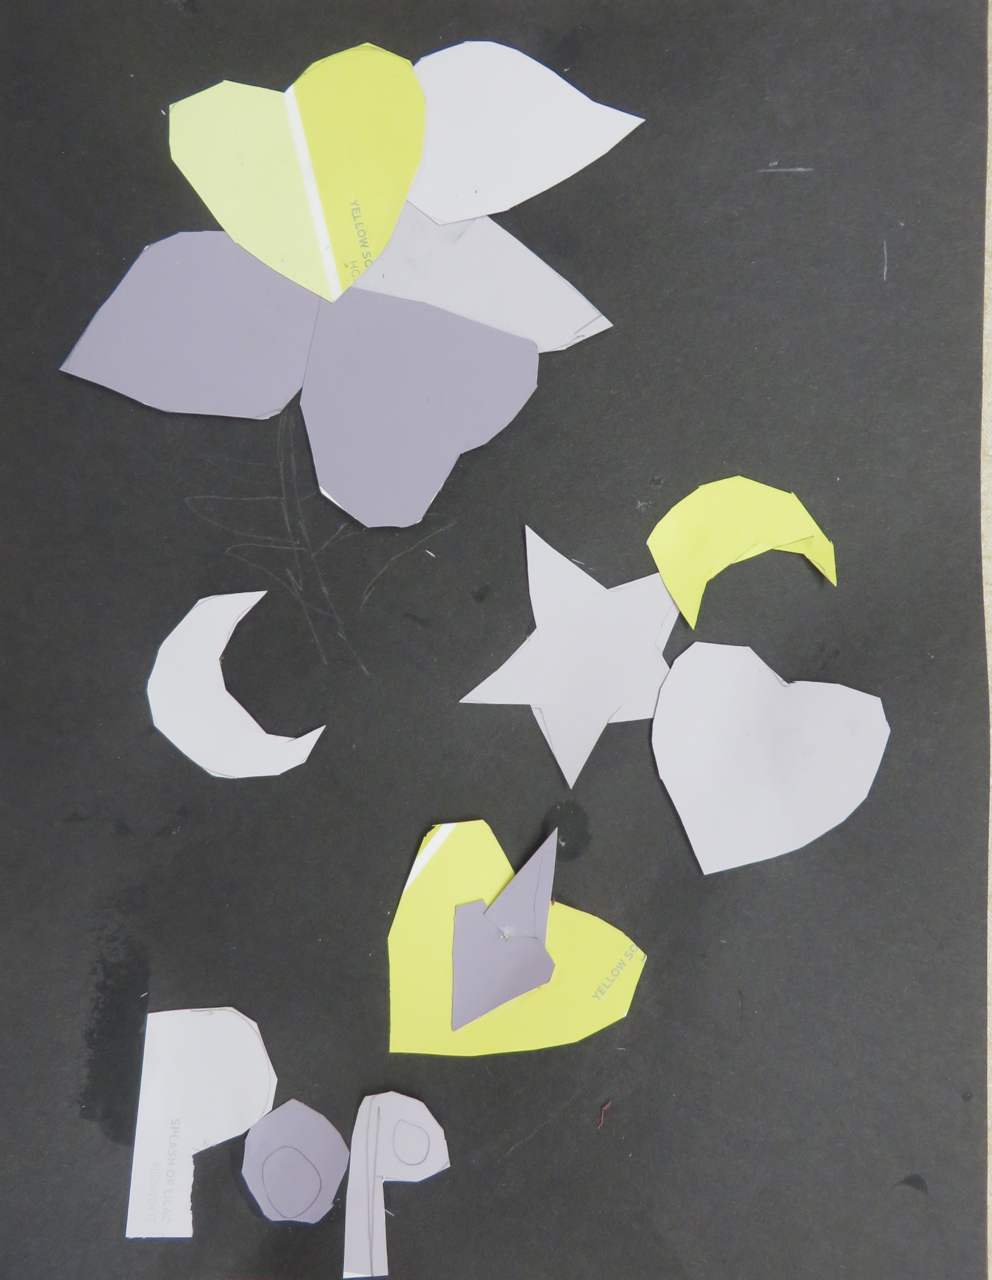
The first time I did this lesson, I gave the students stencils with various themes: traffic signs, zoo animals, vegetables, weather, etc. Though I warned them that using the smaller designs on these stencils would be too time-consuming as they had to fill their 9 x 12 background with a full composition, many students were attracted to these detailed designs, which they also had trouble cutting out. Very few students took me up on my suggestion to make symmetrical shapes by folding the swatches, similar to what we had done for papel picado, or by simply free-hand drawing the desired shapes on the back of the swatch. Reflecting on this challenge, I prepared tracers of simpler shapes at a larger size for students to use—if they so desired. They were of course still free to generate shapes by any other method they desired and/or could come up with.
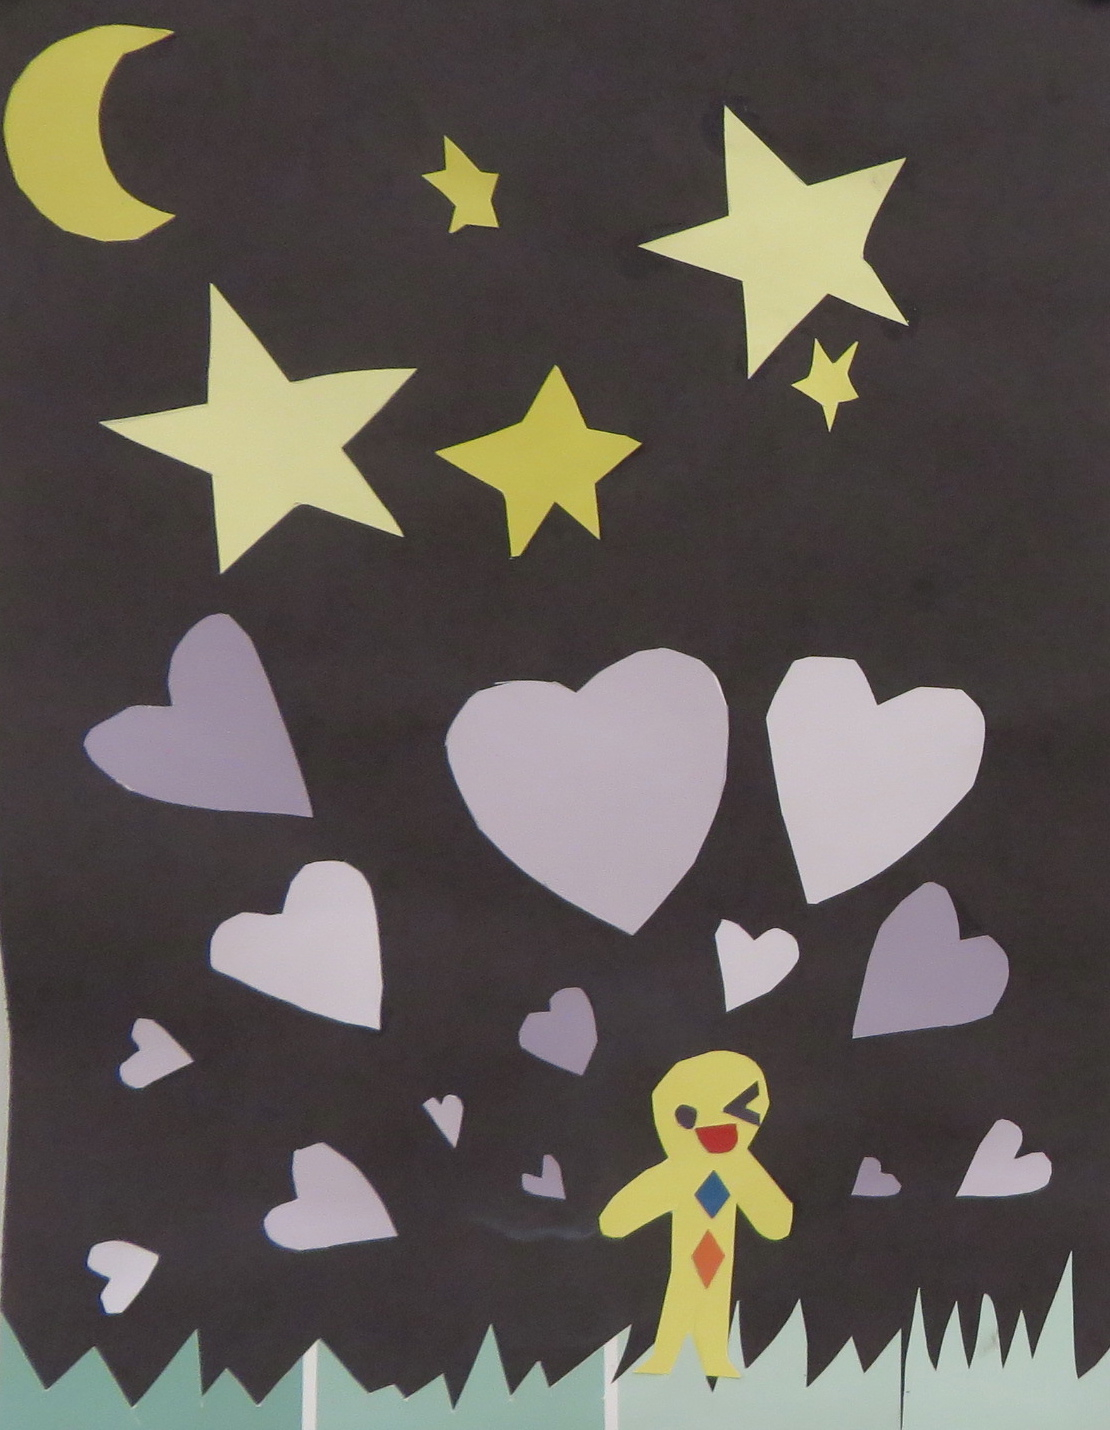
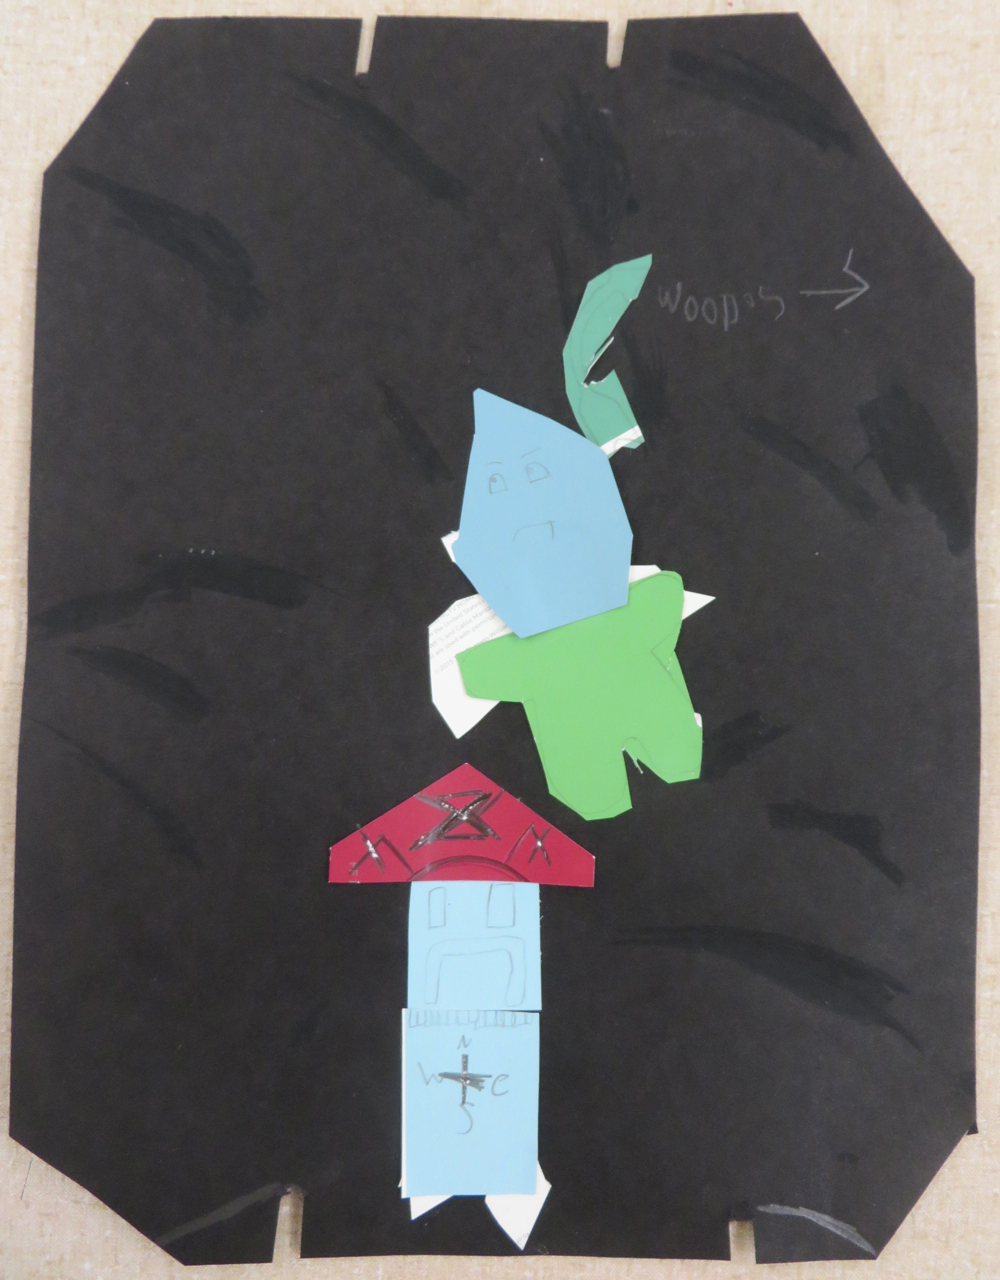
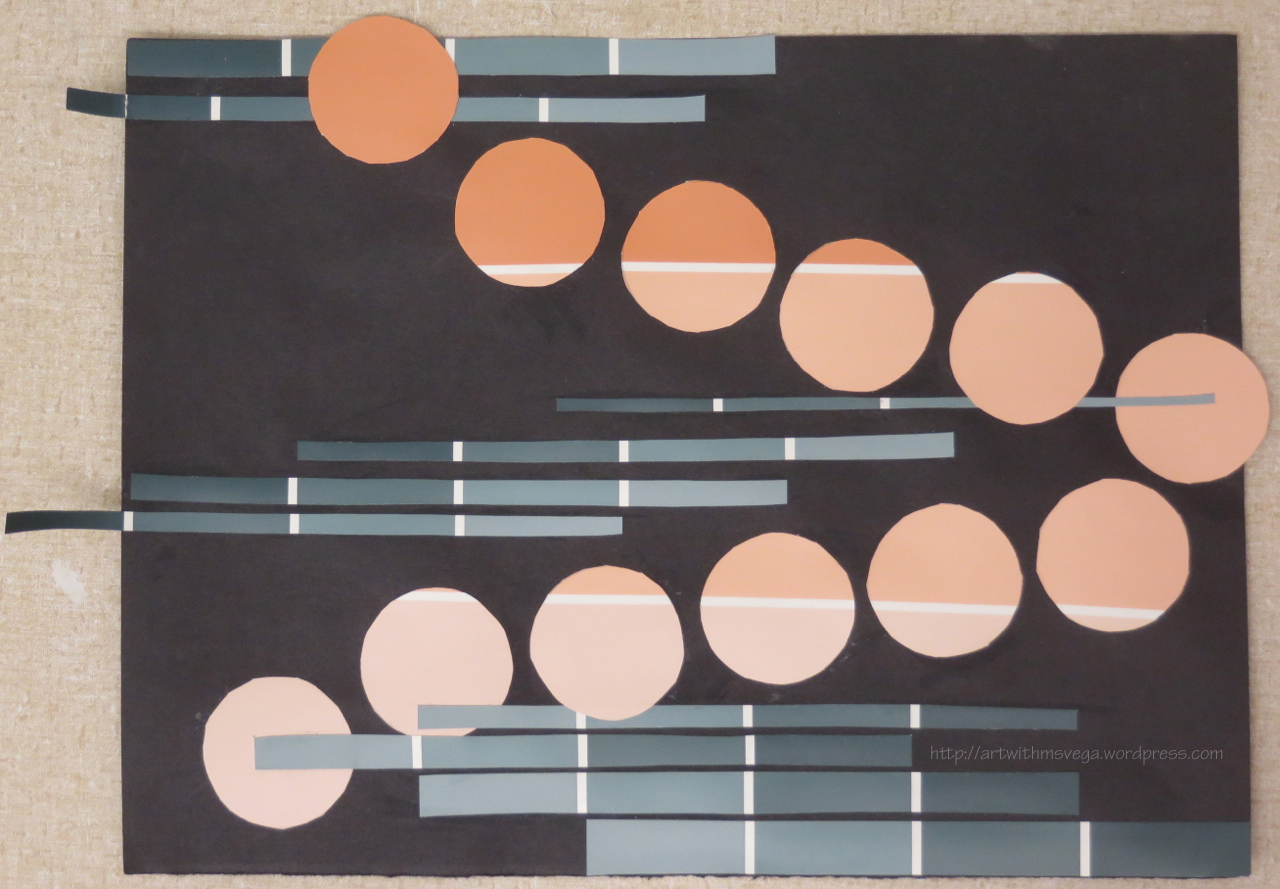
Besides the shaped format, this student’s work is interesting for the deliberate use of glue stains against the black paper. Perhaps both the first cut in the construction paper and the first stain were accidental, but this student discovered how to make them work with him rather than against him!
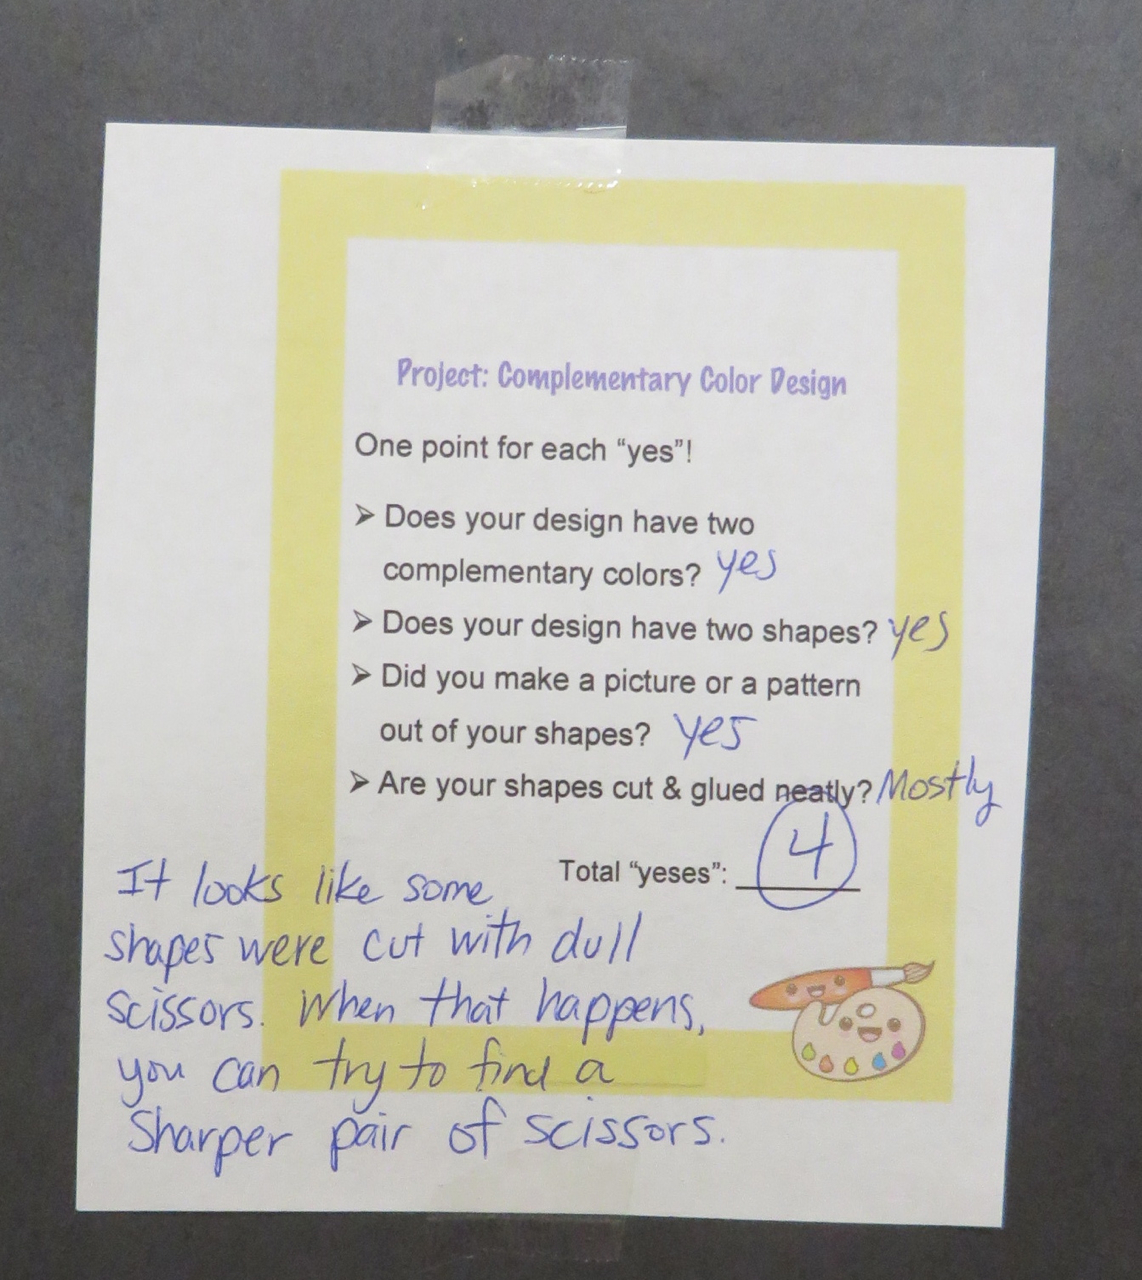
That said, the neatness of the piece (cutting and gluing) were part of the assessment for this project. I did a demonstration at the beginning of the second day of this lesson on how to glue neatly by leaving space between the edge of the shape being glued and the line of glue that gets put onto it. Just as important was the demonstration on how to clean up the glue without leaving stains when it does seep out anyway. Because even the best of us will get glue in the wrong place sometimes!
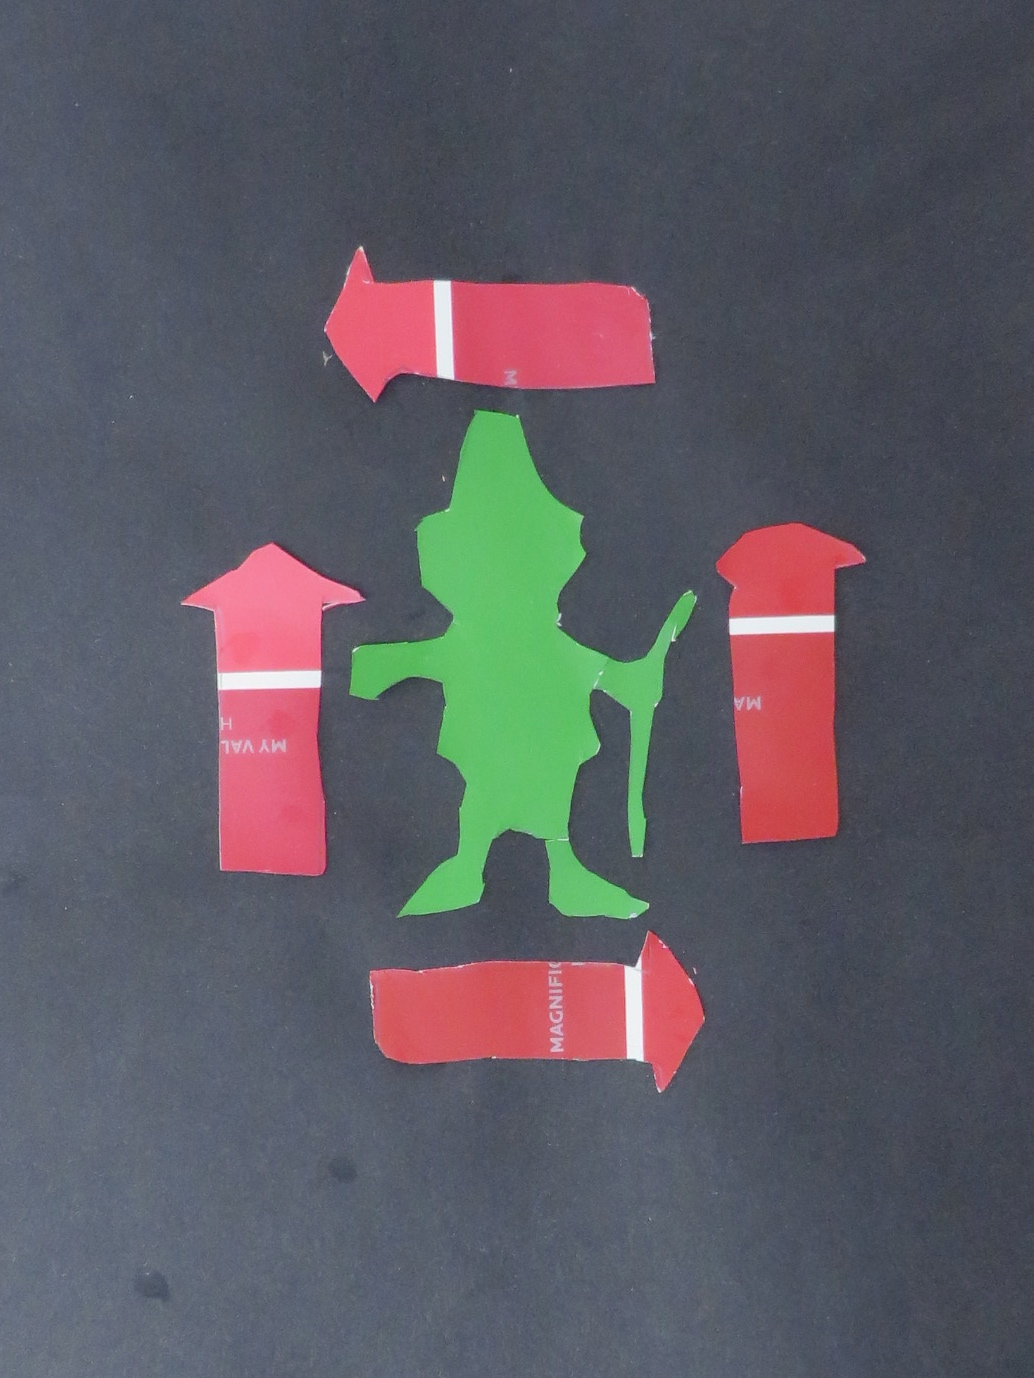
Below are some examples I made to show the students. I was also using the “Leprechaun” piece shown earlier in this post as an example for the homerooms that did this lesson after the first one, in which that piece was made. Students tend to be more invested in their own projects when they see examples done by their peers.


Lastly, here are PDFs of the proper lesson plan and the slideshow I used to introduce this lesson. Due to scheduling issues, the first time I taught this (and the session for which the plan was written), I only had one day to work with students on this, but the other homerooms got two days, which is far more appropriate for the amount of work required.
Once all homerooms had made their complementary color designs, we let the students take home the remaining paint swatches. There were about five boxes of them left, but the kids cleaned us out! You would have thought it was Halloween candy they were stuffing into their backpacks. Some students said they were drawing on them, others said they were going to make something out of them. One glued several around a plastic plate to make a huge flower. I forgot to take a picture of it with everything else that has to be done in an art studio so you’ll just have to take my word for it. ^o^
☆
