
The one class I felt more comfortable taking over was Fashion Illustration. When I started my student-teaching, this class had already moved from sketching clothes to making them with fabric. However, it was painfully clear that the majority of the students needed help with drawing.
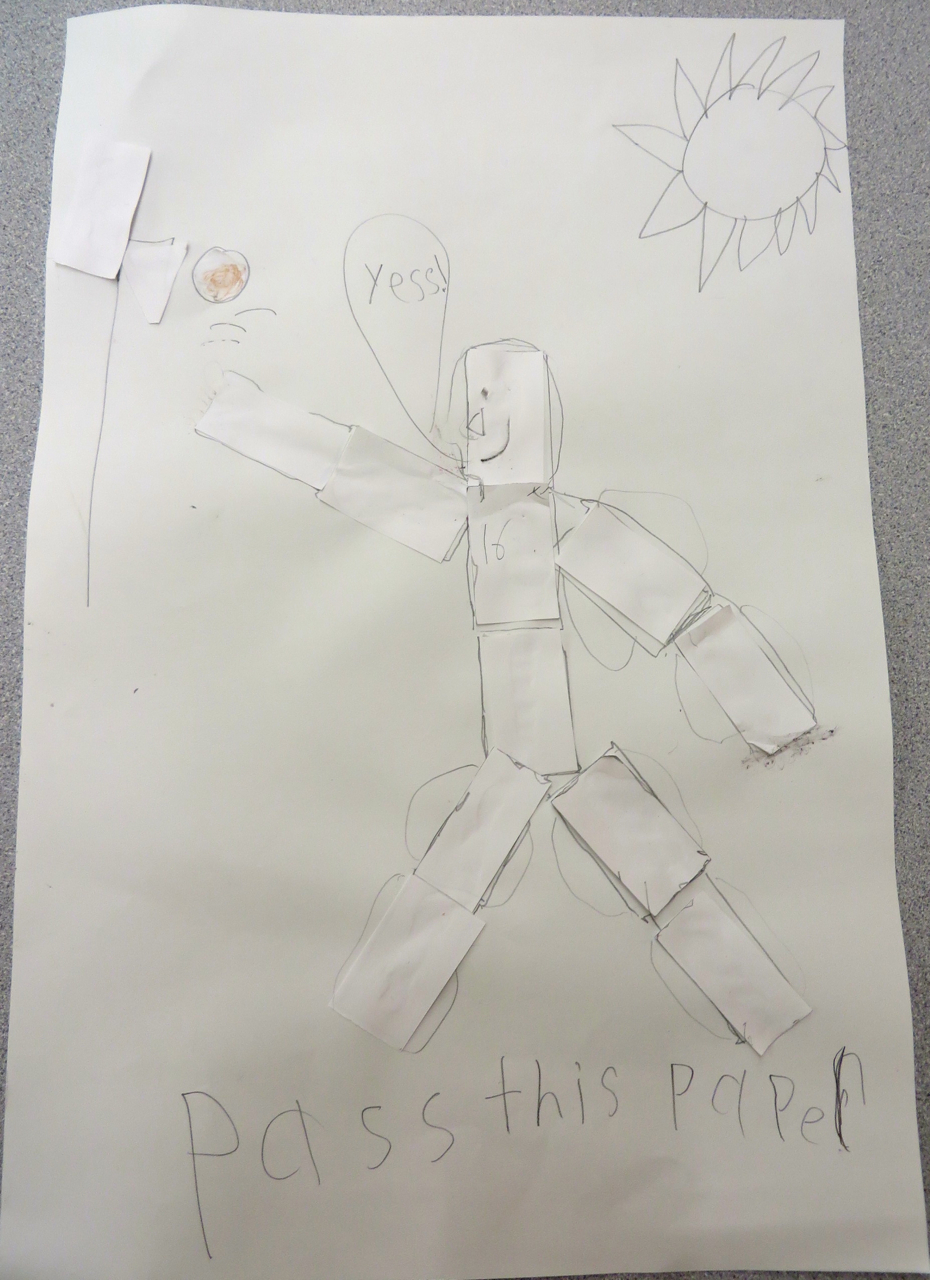
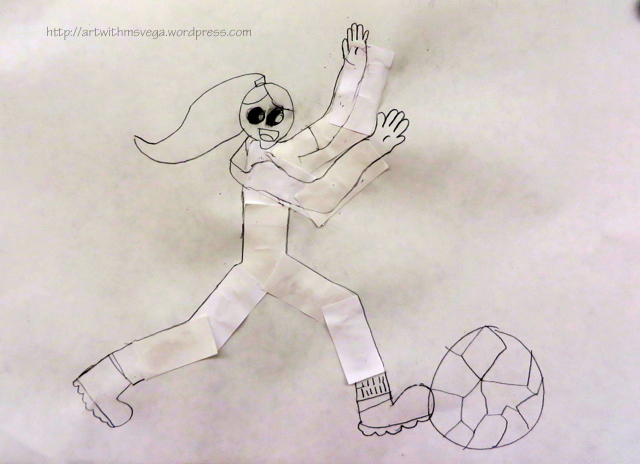
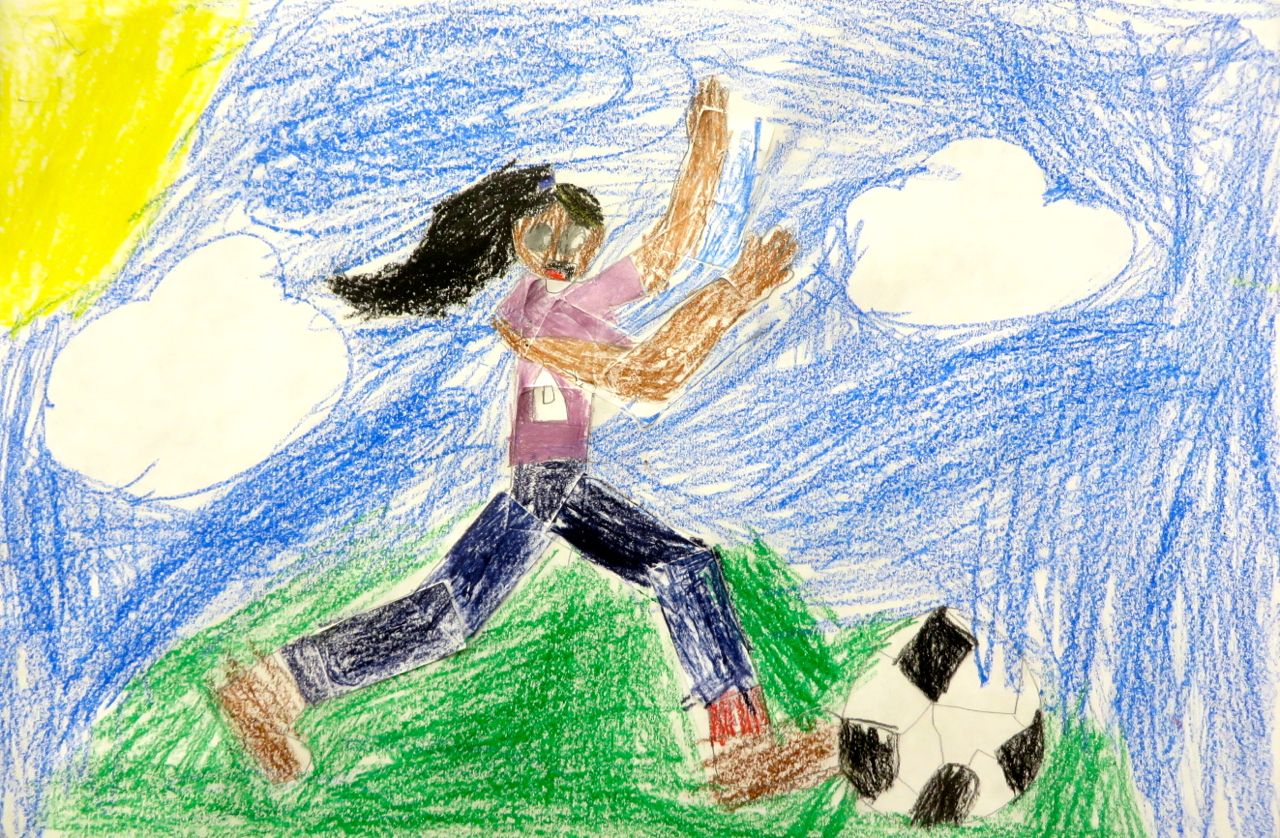
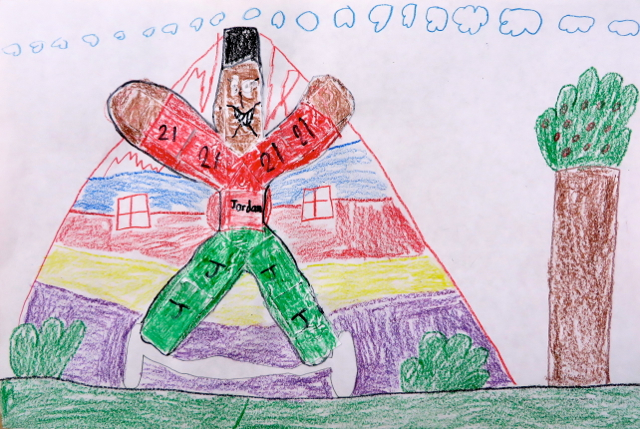
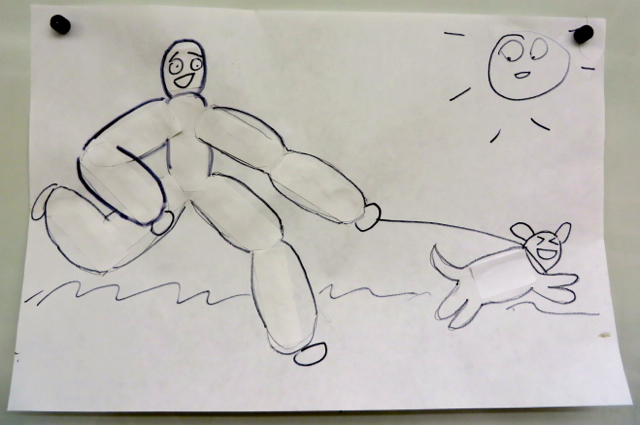
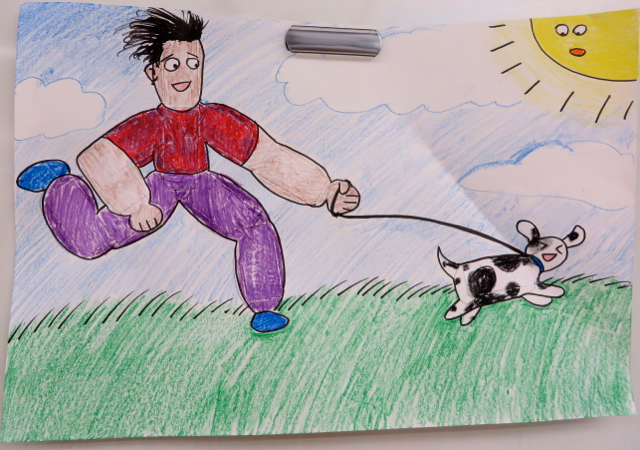
In an ideal world, only students with a deep interest in fashion and art students who had had a basic drawing class before would be in a class as specialized as Fashion Illustration. But due to scheduling issues and perhaps some other factors, there are some who had never had an art class before, others who had not had drawing classes specifically, and all but one had no particular interest in fashion as a career. As a result, even croquis done by tracing a template looked as if they had been drawn by small children in what Viktor Lowenfeld described as the “Schematic Stage,” and what I dubbed “gout people.” It’s often said that one does not need to have figure drawing skills to start designing clothes through fashion illustration, but when high school students are turning in homework croquis with models that only have hair at the sides of their head and there’s a quarter-circle in the corner representing the sun, you really have to set some minimum requirements for what’s expected in terms of technical skill.
While I can’t help them much with the actual clothes given that I only know how to hand sew, I could most certainly help them with the fashion croquis. Besides having a BFA in drawing, my first “formal” training in drawing was a “How to Draw Fashion” book that I had in elementary school. So I set about designing 10-15 minute mini lessons on drawing the figure so that students could do better on their weekly croquis homework.


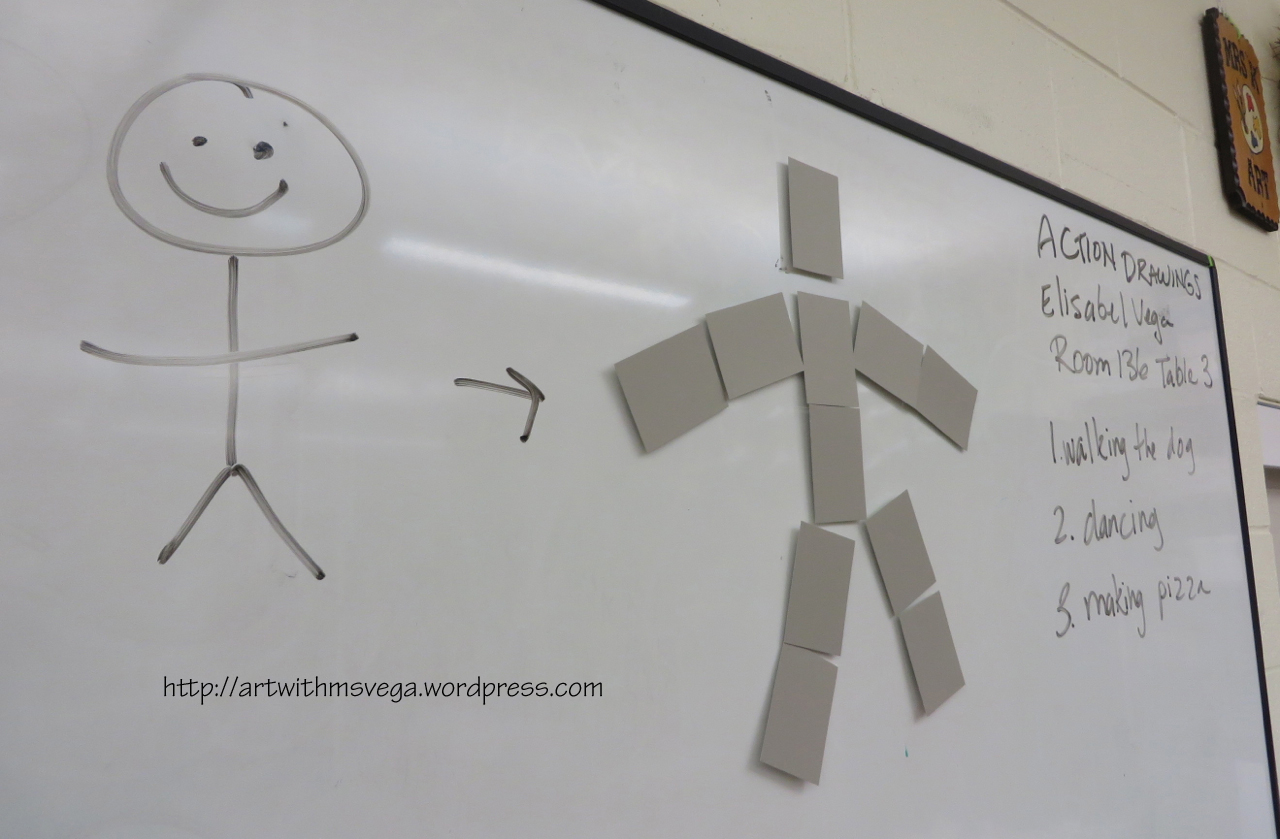
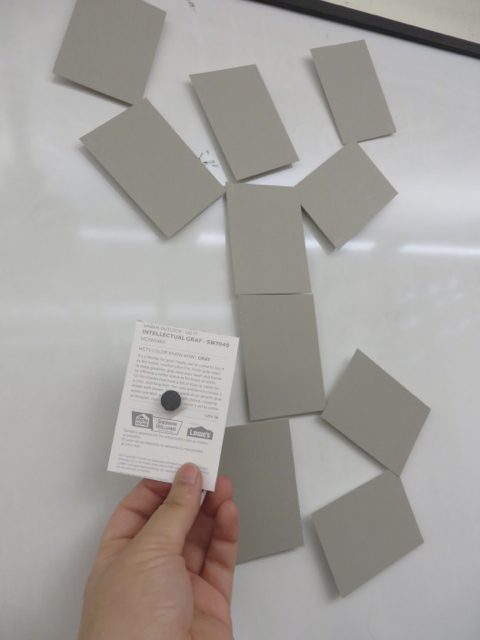
Students had been given templates at the beginning of the year that used a more naturalistic 8-and-a-half heads high figure, and had been instructed to only draw women. As it wouldn’t be fair to rock the boat too much from the get-go, during my demos, I mentioned that fashion figures are usually 9 to 10 heads high but that the 8.5 heads high figure they were already using had more realistic proportions and that I would use it for my demonstrations. I started off drawing a stick figure that has its weight distributed evenly on both feet, then blocked in the body. I made one figure male and the other female, but I also spoke about androgynous figures.


In the next mini lesson I introduced “contrapposto,” which is the fancy Italian word for “The Pose People Associate With Fashion Models.” Some students who were tracing croquis templates to complete their homework worked exclusively with this pose. Those who weren’t tracing templates would often make mistakes that left their models in poses that were either physically impossible, such as having the shoulders in a steep slant while the hips remained perfectly straight despite having one leg out to the side; or very uncomfortable, such as having the knee of the high-hip leg bent while maintaining the other leg straight. Some students certainly improved in their ability to draw a stock figure without having to look at a specific template to copy after these two mini lessons.


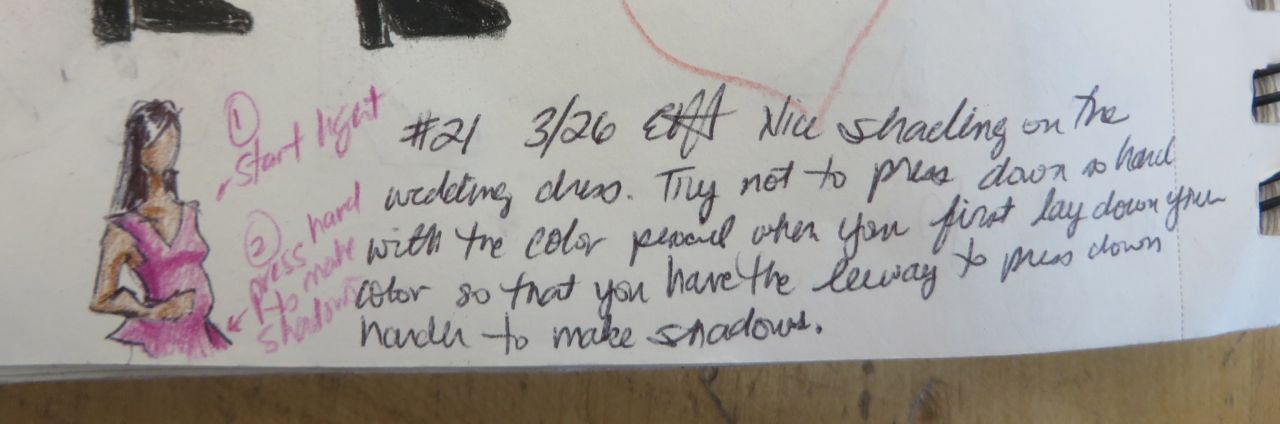
After the basic lessons for the whole figure, I did more mini lessons on whatever were the most common issues I was seeing in the weekly croquis homework. For example, I noticed many students weren’t drawing faces at all, so I did a little lesson on that. Others struggled with hands and feet—shoes rather—so I covered that as well. I also make extensive comments and diagrams in students’ sketchbooks so that they can improve. When I took over grading their assignments, I told them that I wasn’t grading anyone based on how “well” they drew, but rather on whether or not they were applying what they were seeing in the mini lessons and in my personalized notes to them in their latest assignments. In other words, I was looking for improvement.

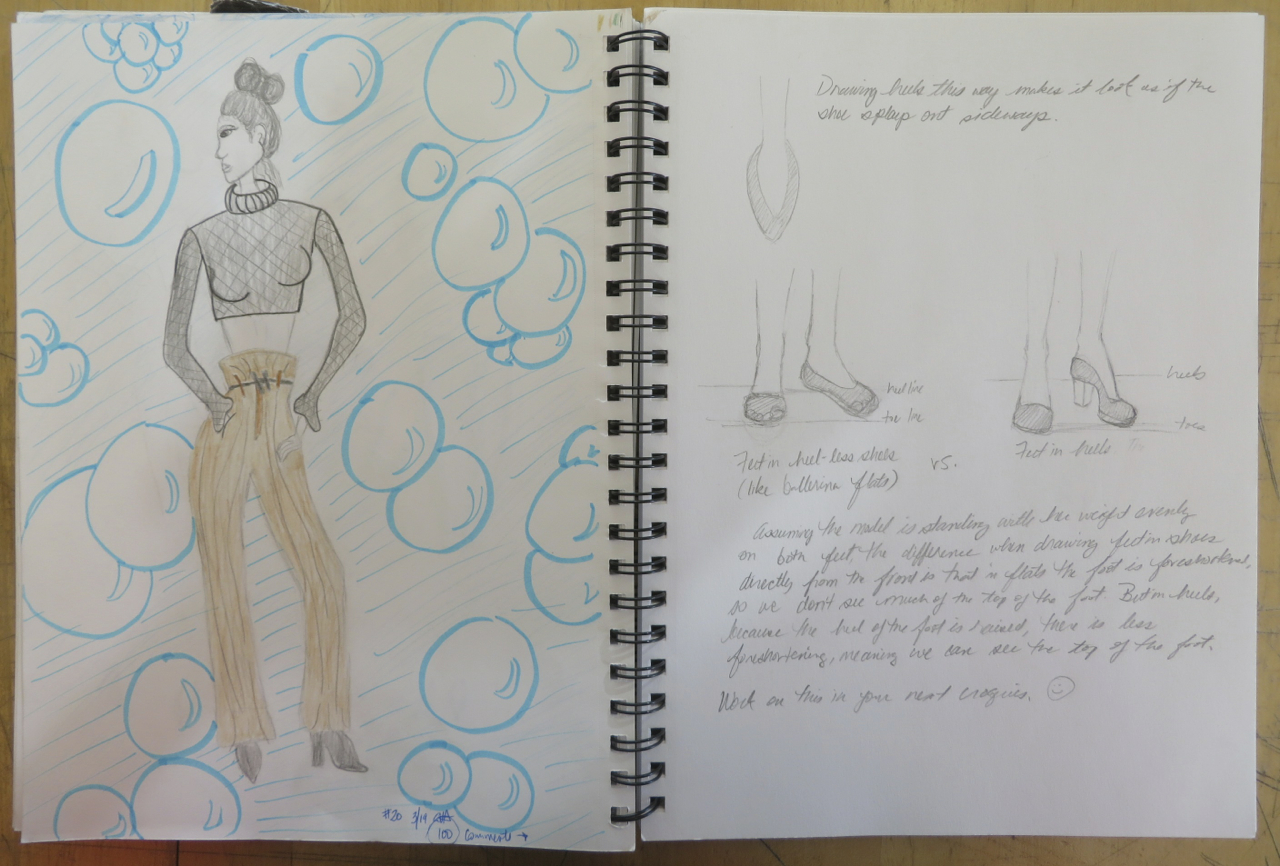
Doing this kind of individual feedback is very time consuming, but it serves two purposes. For one, it customizes instruction to meet that student’s specific needs. But it also helps to make sure students are held accountable for doing their work and trying to improve. Students can’t say “I didn’t know I was supposed to do x” when they have it in writing in their sketchbooks like this. Of course, I don’t expect two or three mini lessons to solve all students’ drawing issues immediately, as drawing consistently requires lots of practice and analytical thinking during and after said practice.
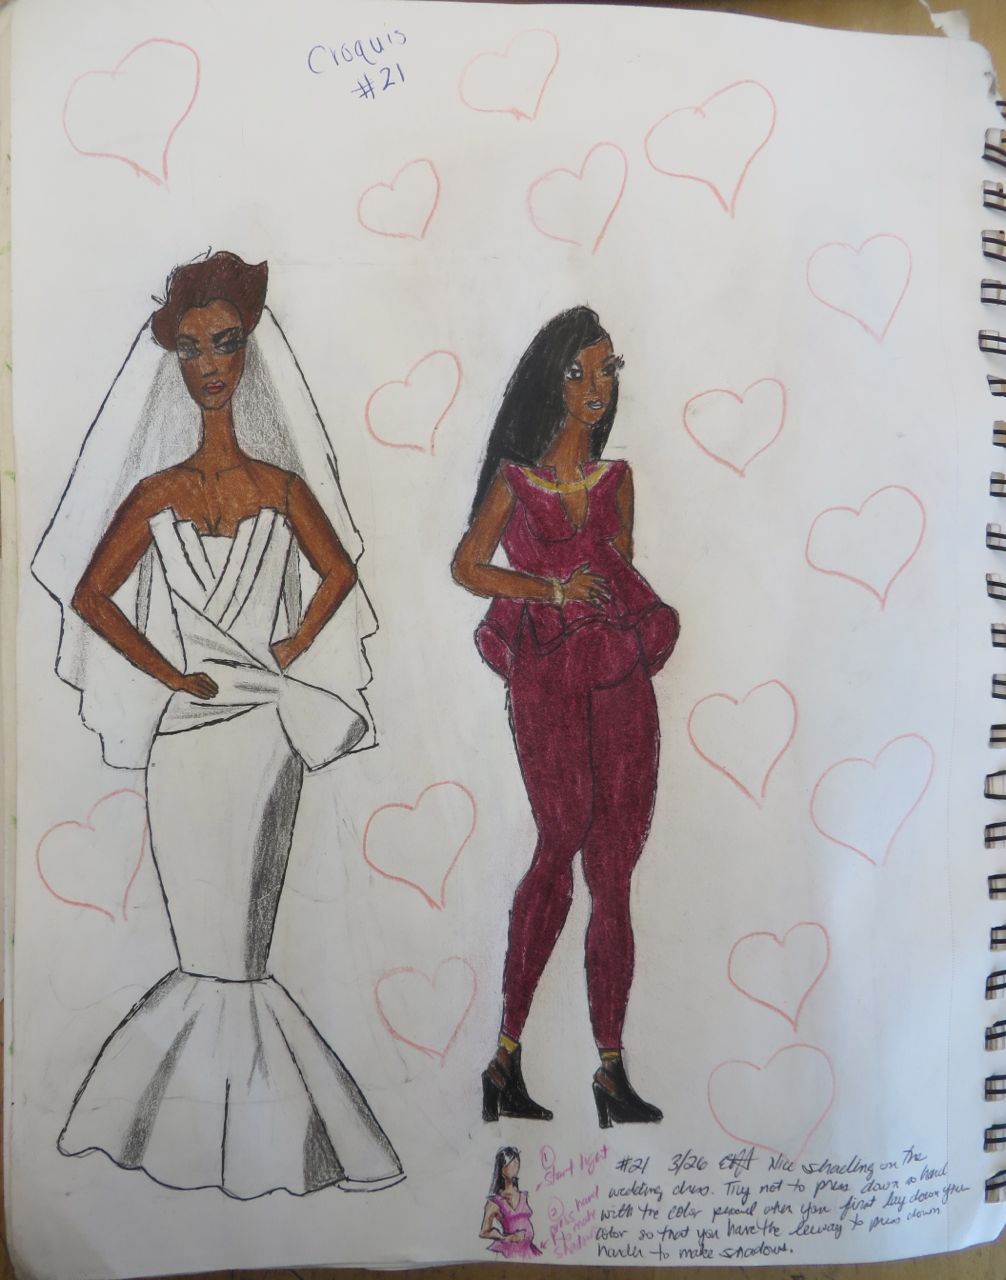
Students had to get back to using their full class time for constructing their actual outfit, so I didn’t do any whole-class mini lessons for a while. In late March I talked about shading, and did a demonstration with a wooden cylinder and flashlight, as well as a drawing, so that students could create a greater sense of form in their croquis.

I don’t have many photos of student work in general, as there is always so much going on it’s hard to remember to take photos. I do regret not taking pictures of some of the better croquis, as there really were some interesting ones. Especially once we started doing themes.

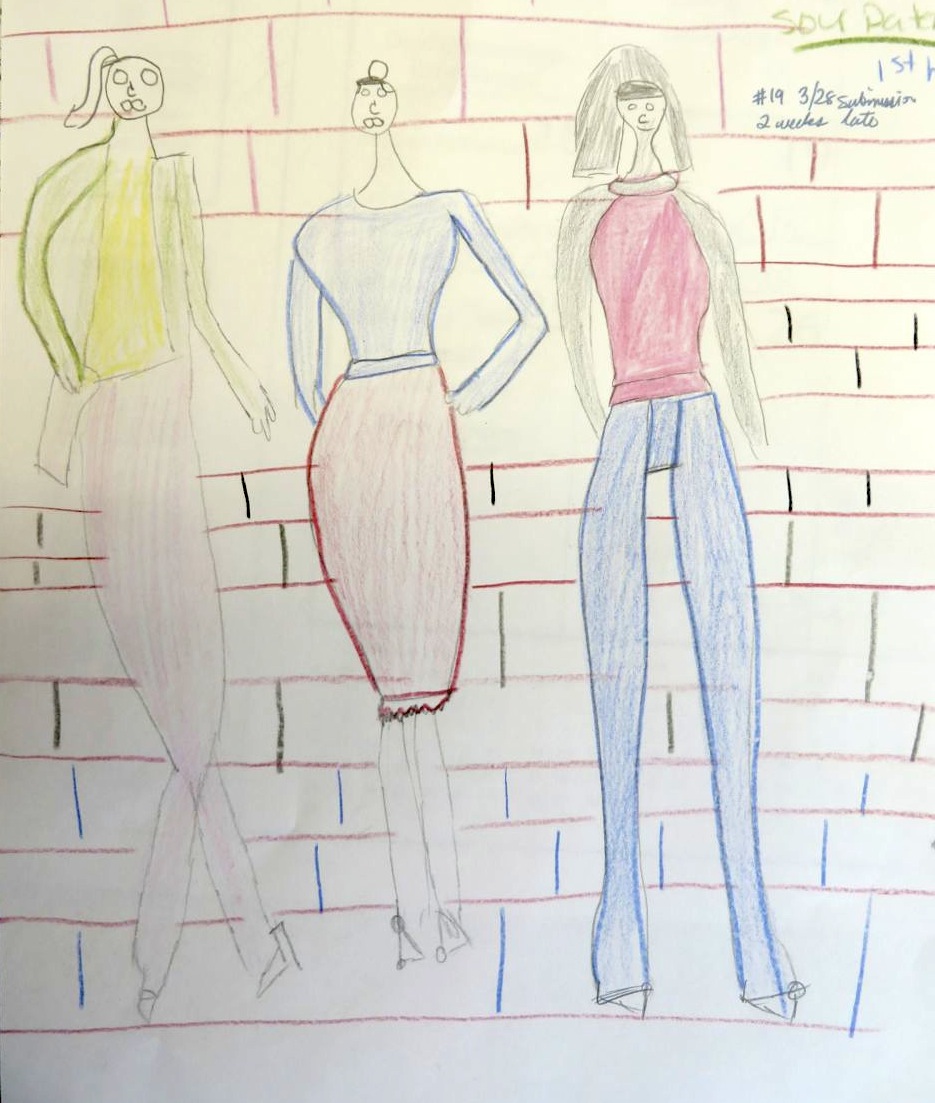
At the very beginning of the school year, students had assigned themes for a few weeks, but then they were allowed to draw more freely. However, by the time I got there in mid-January, it was clear most students were merely copying poses and outfits wholesale off the internet. So, I gave each student one small piece of paper, and told them to write down one thing that they liked on it. It could be anything: a color, a material, an emotion, a fictional character, etc. They folded the papers up and put them into a protein powder jug I had rinsed out and repurposed. Each week, either I or a student pull out a paper to set the week’s theme. So far, we’ve had “Sour Patches,” “Blue,” “Video games,” and “Life.” I honestly did not know what Sour Patches were! (Ahaha!) Though I don’t have a photo of it, one student did a very funny “croquis” of a Sour Patch Kid wearing a sparkly red gown and a string of pearls. It was right after the Academy Awards, and the “Kid” was saying “I’d like to thank my manager.” It definitely didn’t have the usual feel of a fashion sketch, but then again, if Lady Gaga can wear a meat dress, why not have candy wearing fancy gowns!
~ B O N U S ~
My mentor teacher often buys magazines like Bazaar and Vogue to have as reference material for the Fashion class. I saw some interesting ad campaigns as I flipped through them. For example, Gucci has one consisting of images that directly reference famous works of art. The first one I saw was obviously a copy of Sir John Everett Millais’ Ophelia. I showed the ad to the class and asked them if they had ever seen this image before. Unfortunately, there hasn’t been an Art History class at Cass for some years now, so only one student (a transfer student) got the reference. Still, I showed the class the original painting in Gardner’s Art Through the Ages so that they could see how fashion designers take inspiration from sources across time even though they’re designing for a season that hasn’t even come yet.

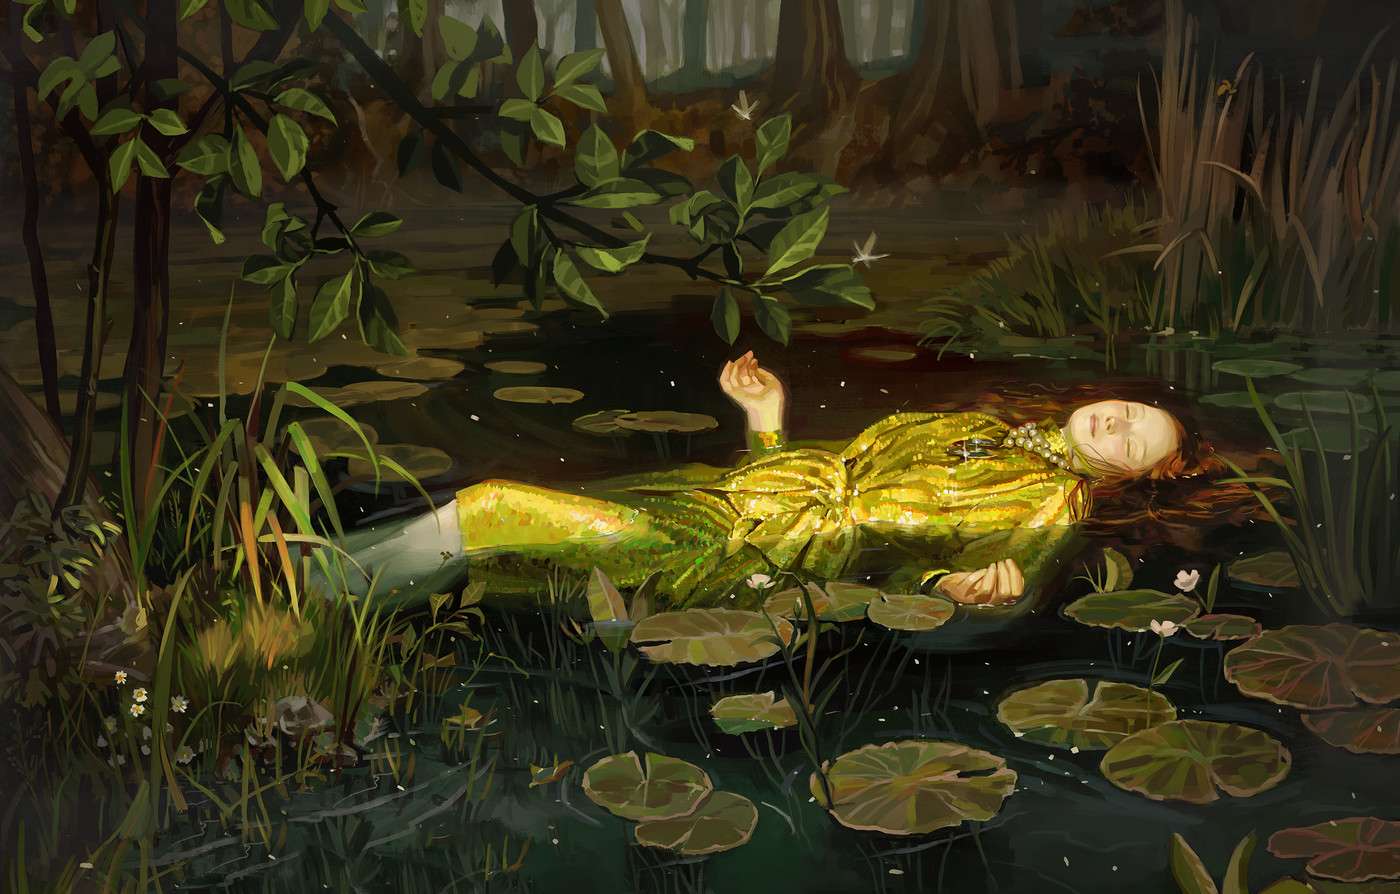
Millais’ Ophelia [Source] & Gucci’s Ophelia by Monreal [Source]
Another ad that took me by surprise was for Bloomingdales. It had a pipe from Super Mario World in it. Turns out the store created some clothing in collaboration with Nintendo. This came in perfect when I pulled the “Video games” theme from the Croquis Themes Jug! A lot of students aren’t particularly interested in fashion, but many do like video games, so it helped to have such a recent example of games and fashion going hand in hand.

☆