High School

Designing Jewelry with the Wearer in Mind

Last time I talked about my experience being a student in my mentor teacher’s jewelry class. At about the same time, there was one day when my mentor had to be absent, so I had to teach an almost totally unknown subject on the fly! Of course, I spoke with my mentor by phone that morning, so it wasn’t like I was totally alone. She said the students should work on their automotive-inspired designs by researching cars and car factories online. They had already spent a bit of time doing this and had submitted initial sketches. I suggested adding an element of figure drawing into it by having the students sketch people actually wearing the pieces they were coming up with. My mentor agreed, and I used the second period prep to put together a quick sample sketch.

Basic head and hand illustration to model jewelry on

At the time, this seemed like the most natural progression to me. After all, when you’re learning how to do fashion illustration, you first learn how to draw a basic human figure to put clothes on; you don’t start out with flat, technical drawings even though these would perhaps highlight the specific qualities (in terms of cut, color, and pattern) of the garment itself more than drawing it on a fashion figure.

So I told the students to start thinking about turning their automotive sketches into jewelry. At that point, most still had concepts that looked very obviously like car parts. How can we take the shapes we see on cars and turn them into jewelry? How would these pieces look actually being worn?

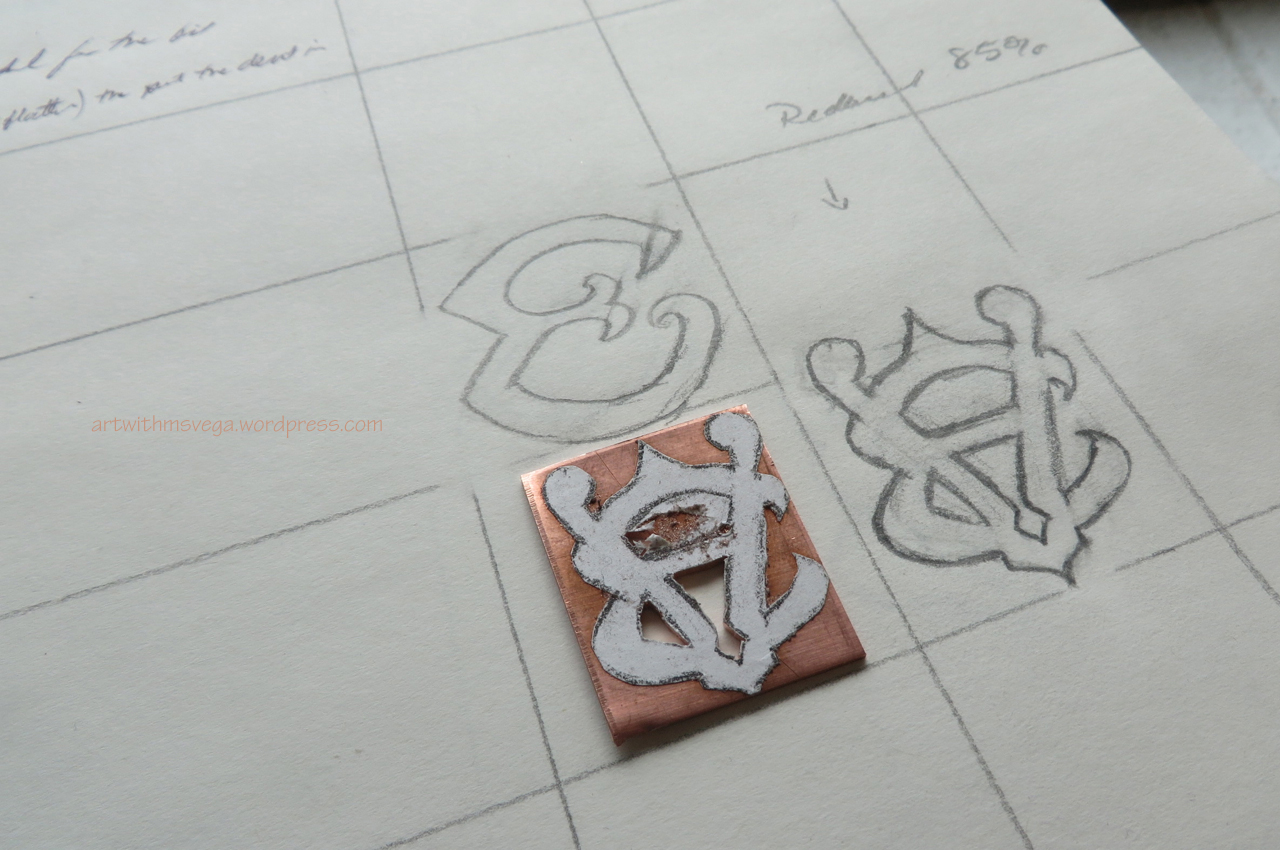
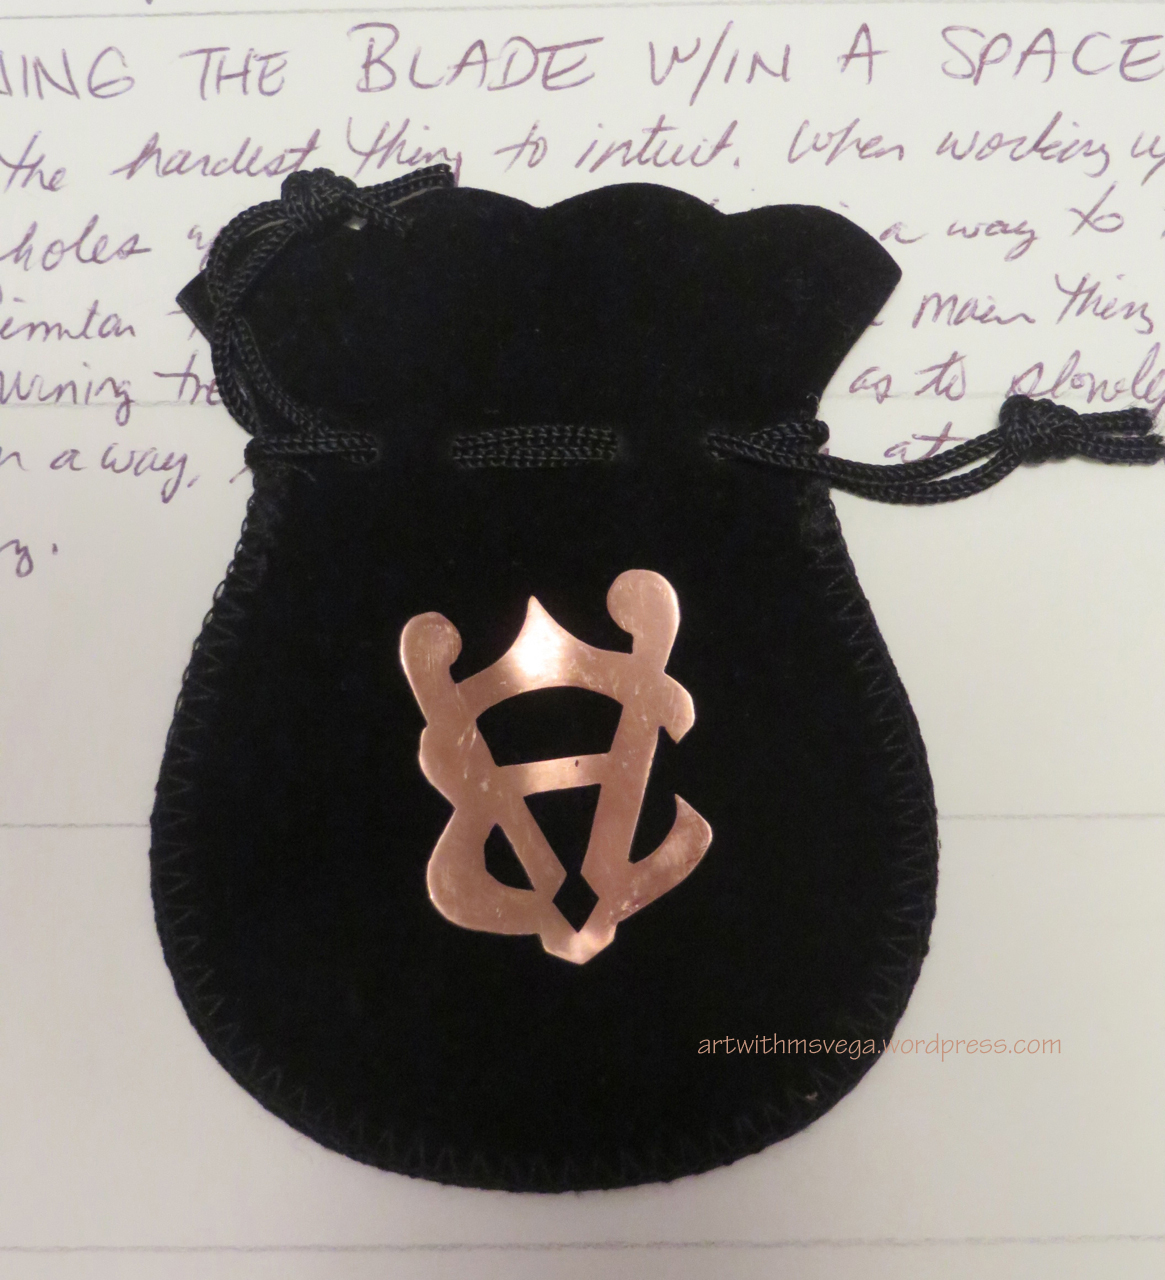
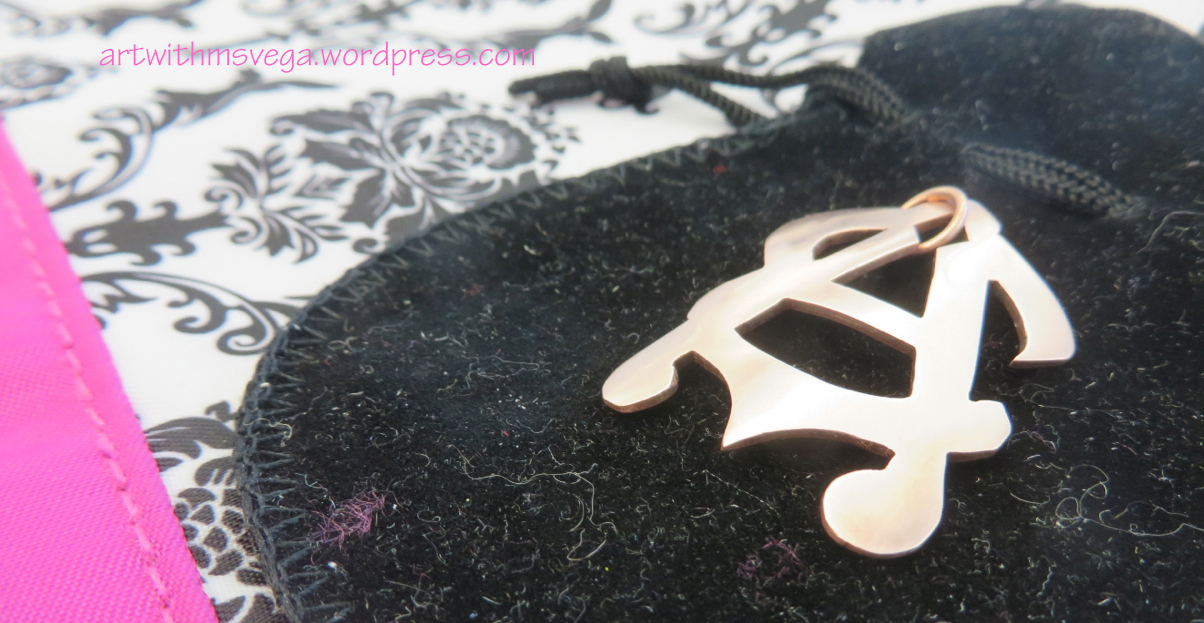
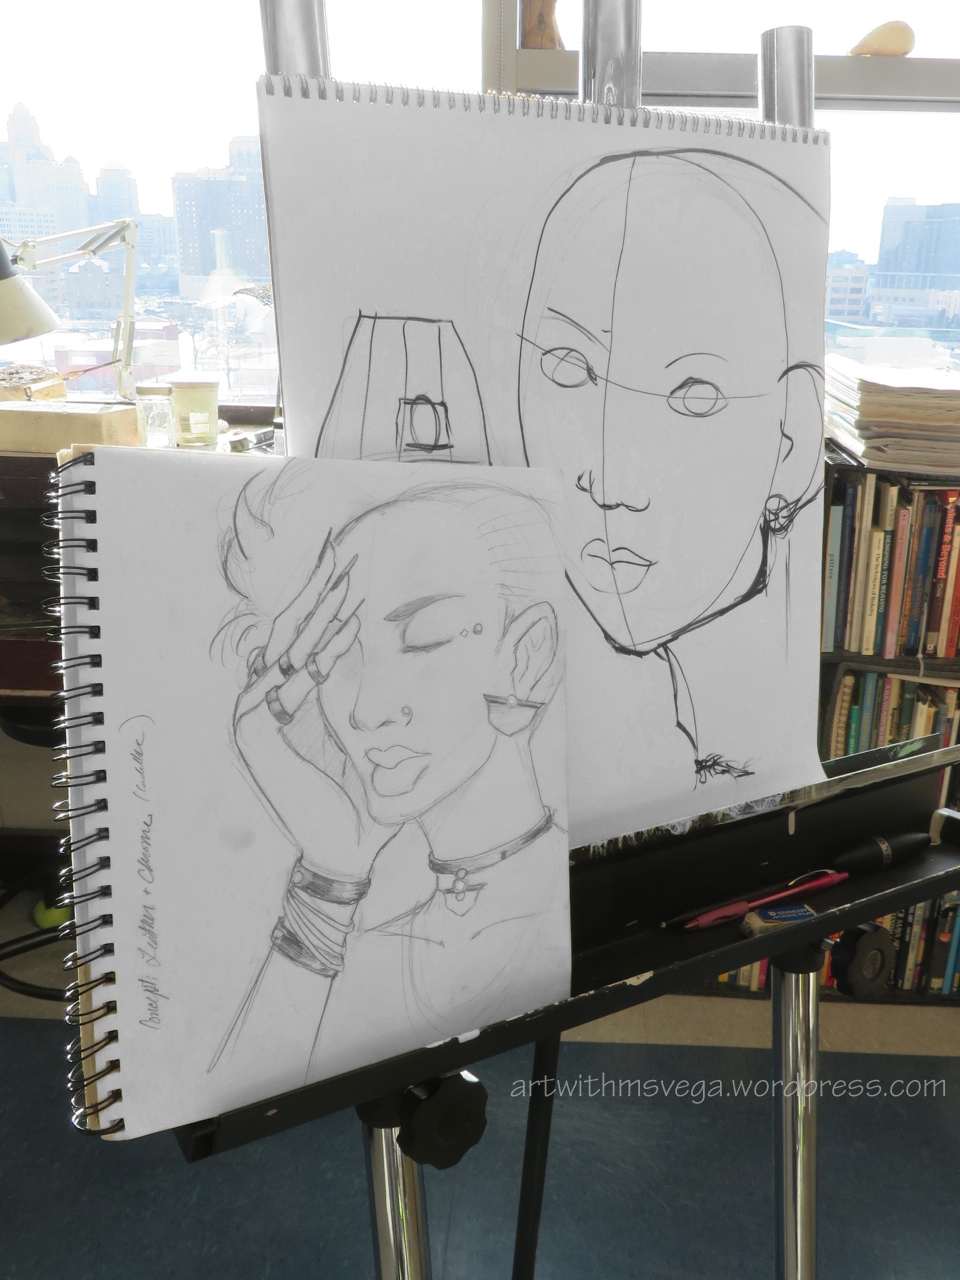
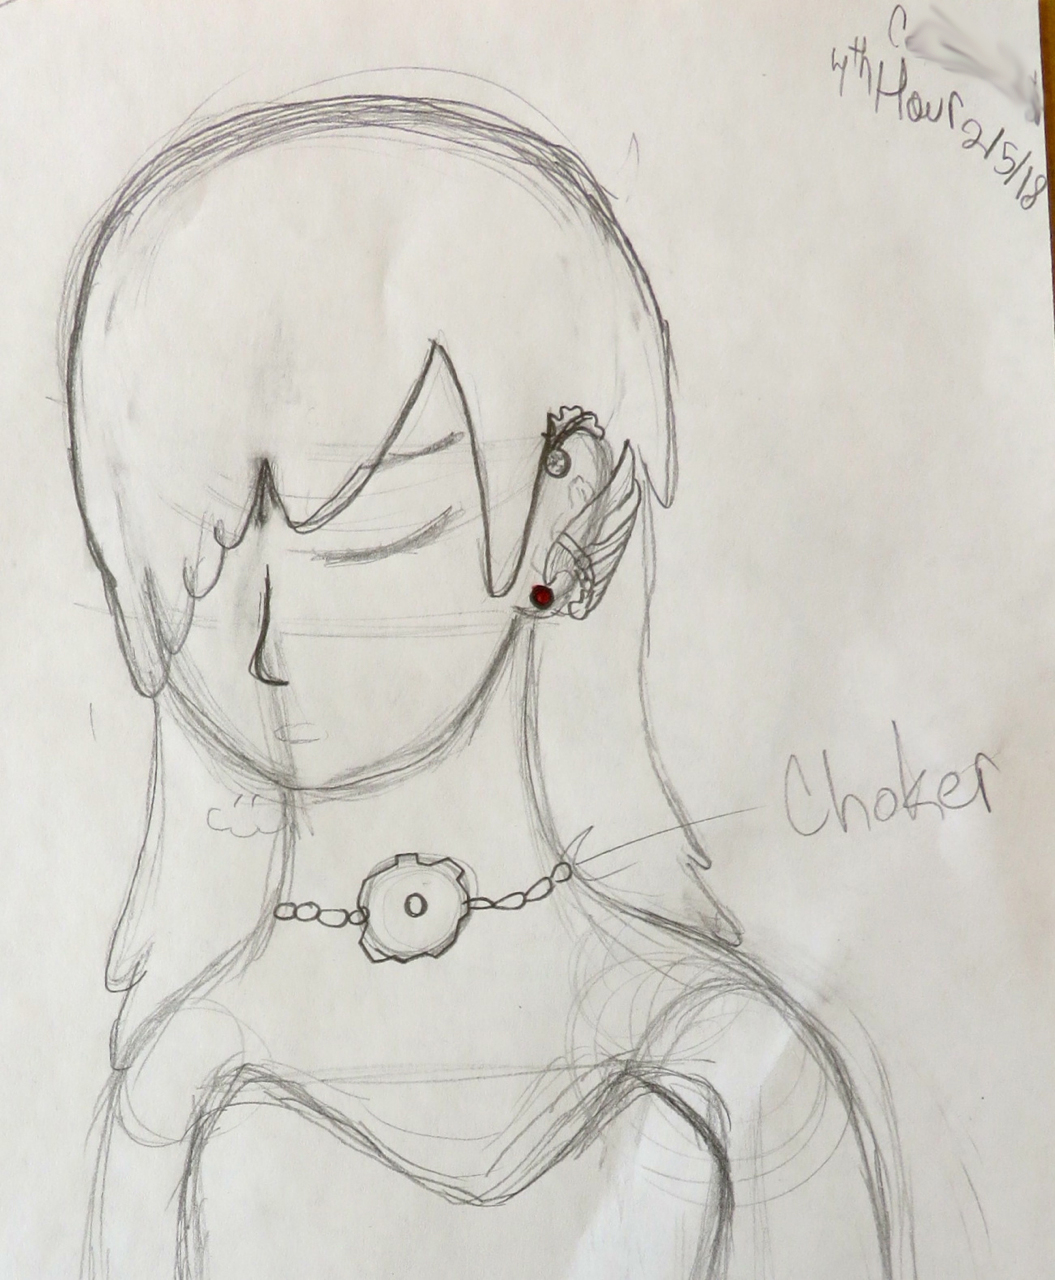
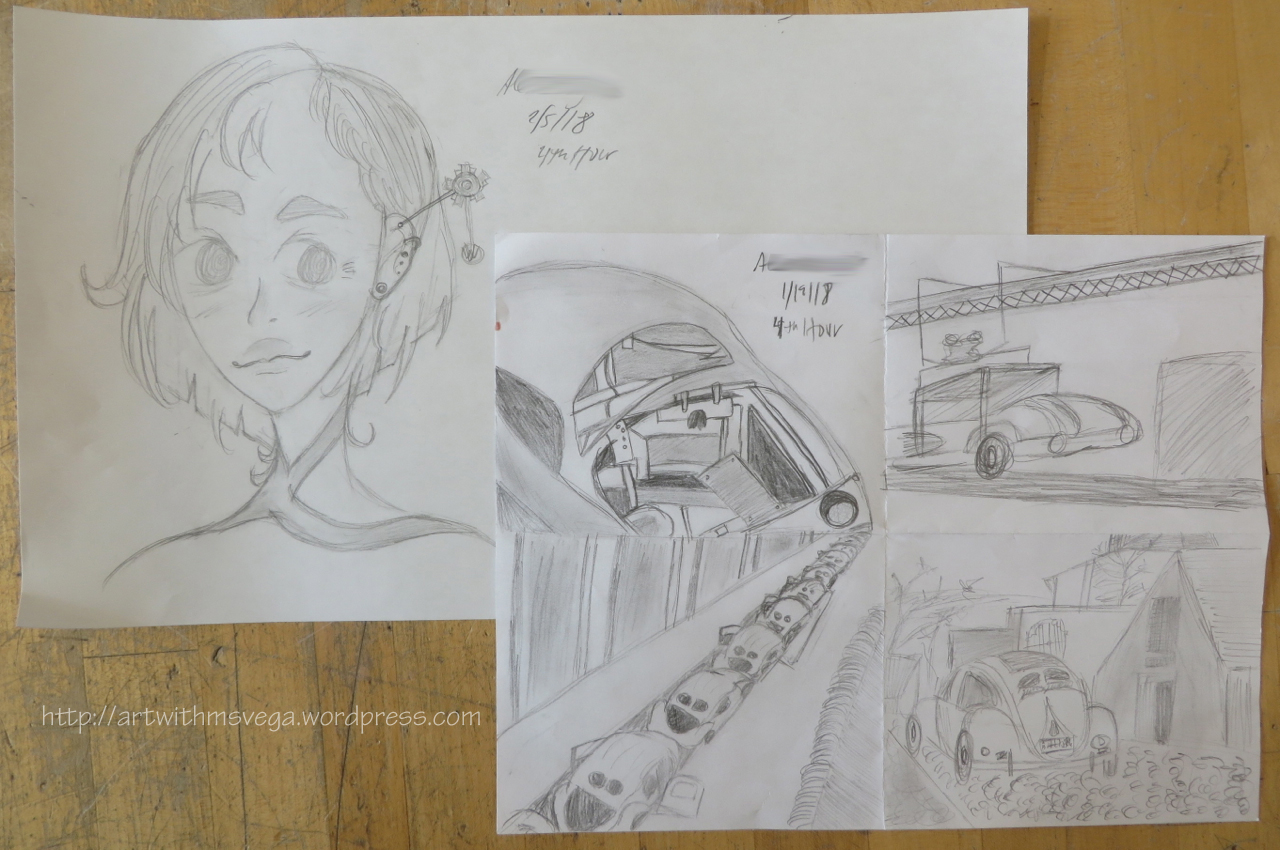
I sketched out one example, taking the Cadillac shield as inspiration. It would perhaps look tacky to use an actual Cadillac logo as earrings, but by taking the shape only, we can allude to the classic car aesthetic without simply copying it. I later colored the gems red to further the reference to cars, tail lights in particular.

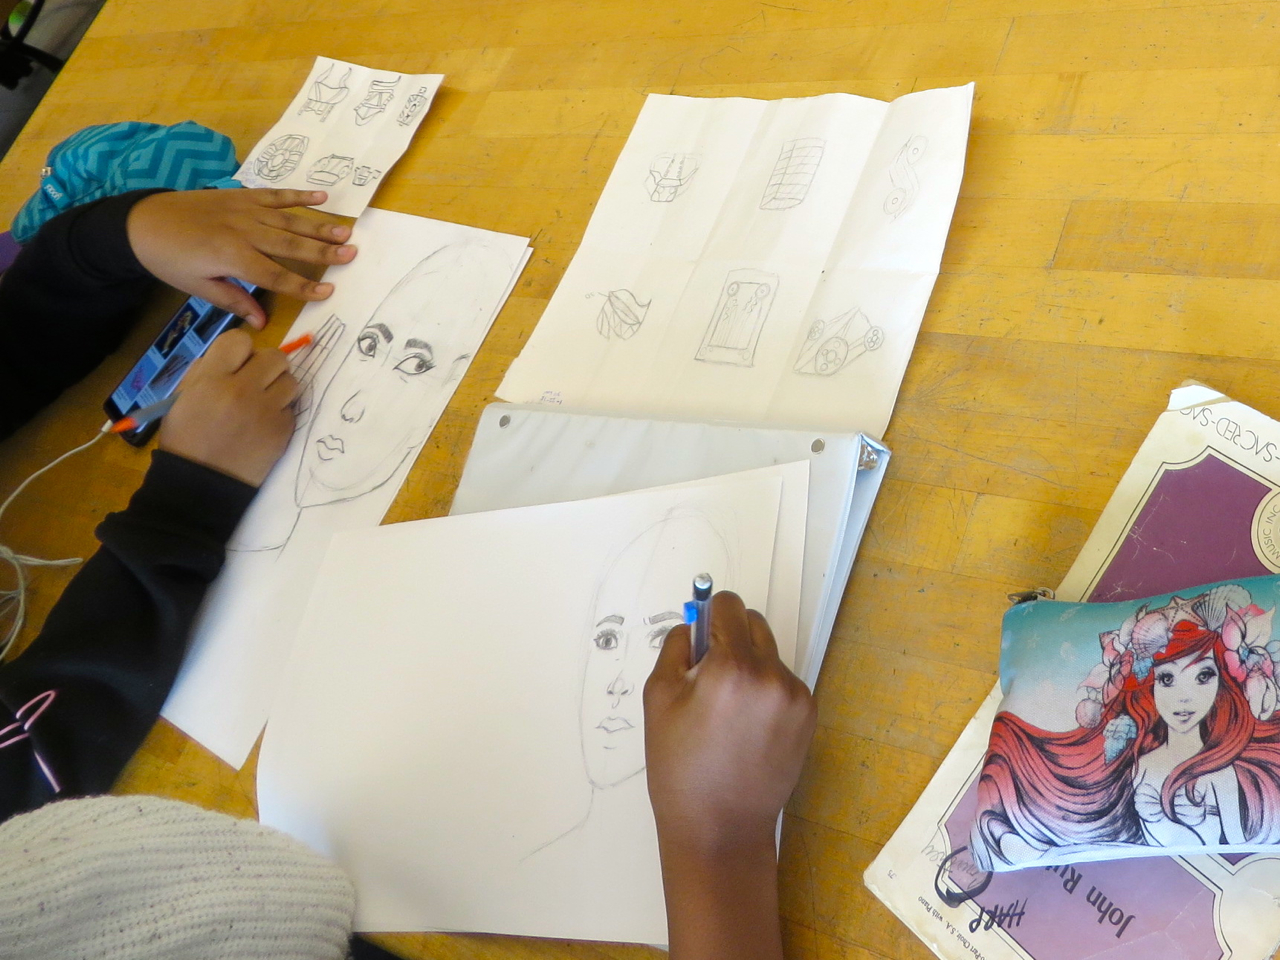
Now, as many students in the two jewelry classes are taking the class as their art elective, they don’t necessarily have figure drawing skills (but some do). So I did a demo on how to draw a very basic head, face, and hand so everyone could at least get started. With this particular pose, they could have a model for nearly all the kinds of jewelry they could make in this class. I instructed them to put at least three pieces of jewelry on their model.

Students looked at the sketches they had done in a previous class to figure out how those pieces would look when actually being worn. These two students enjoyed putting lots of detail into their faces, not choosing to use the “cheat” of having the models’ eyes closed!


Some students were having a hard time making the conversion from “car parts” to “jewelry,” so I encouraged them to make up a personality for their model. This student even named his model, and got so into it, he came in on his lunch hour to further tweak the image!


What does this person like to do? What kind of clothes would they wear? If they were in a store looking to buy a new accessory, what would catch their eye?

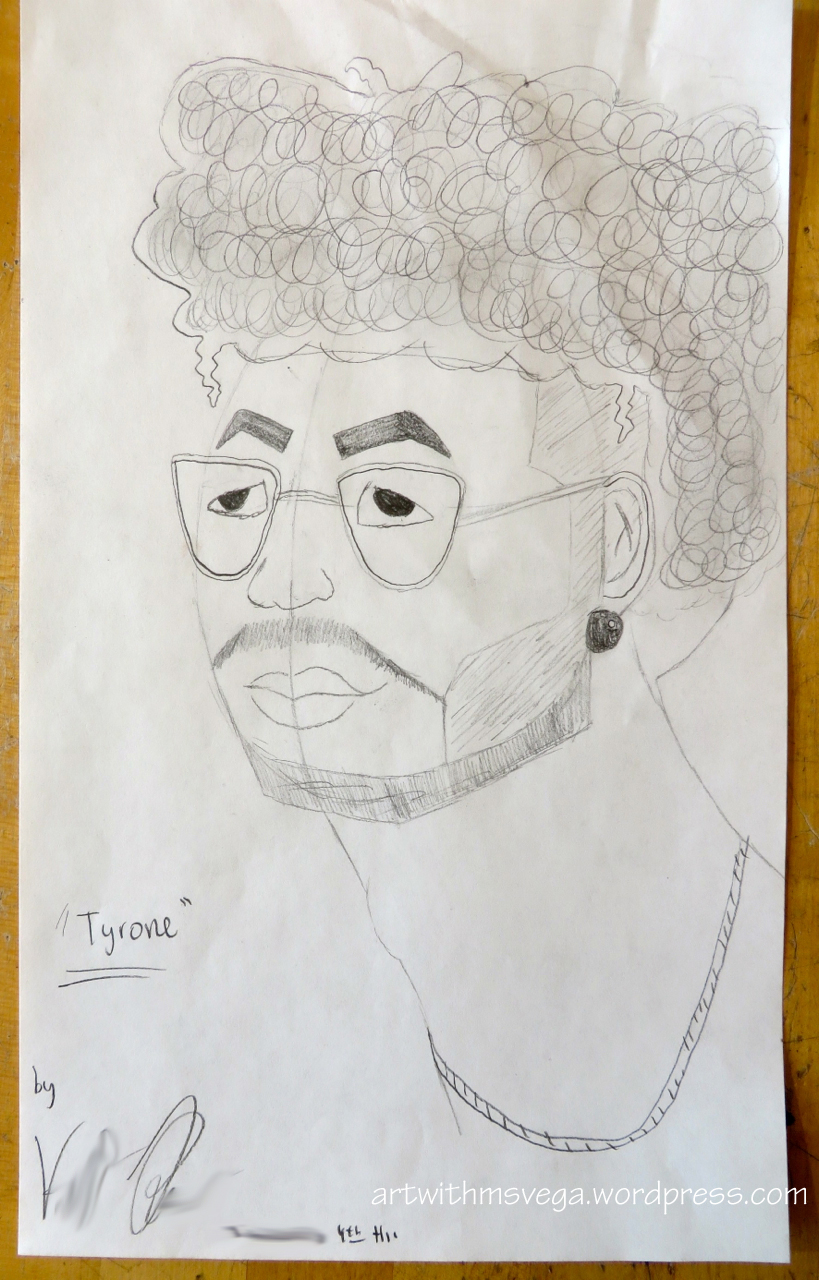
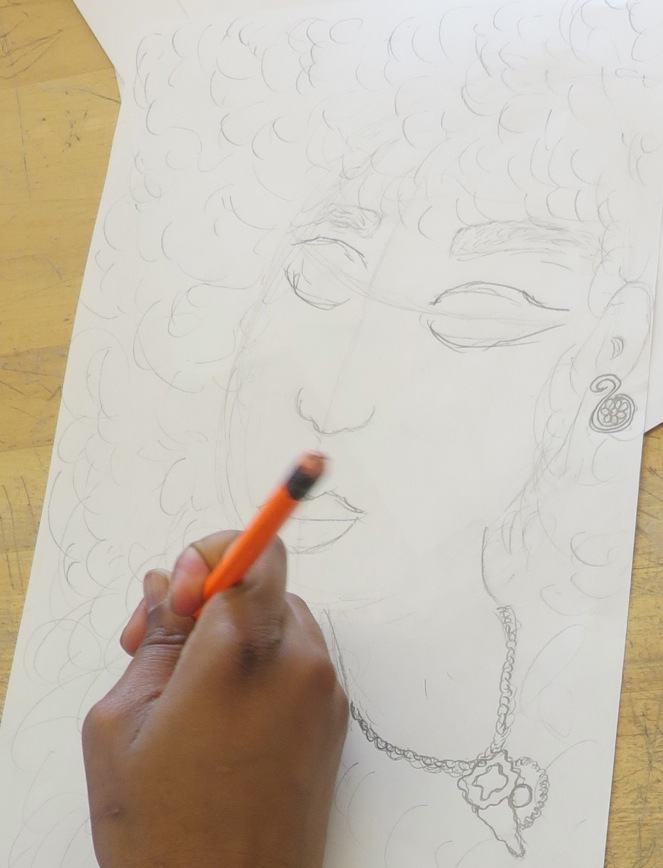
Click the thumbnails below to see more examples of student work

Several days later, I asked my mentor teacher if it was more common to design jewelry by drawing only the jewelry, or by rendering as it would actually be worn. To my surprise she said jewelers always sketch the piece alone. They had to consider size and the balance of the piece itself (for example, how a brooch will hang on a garment), but otherwise, they didn’t think of it necessarily in context of the shapes of the human form it would eventually adorn. On the one hand I thought such an object-centered approach was a bit lacking in humanity. But on the other, it’s not as if the pieces that have been made this way don’t look good on people. Either way, I don’t think it would hurt to sometimes design jewelry while thinking of how it will harmonize with the lines of the person who will one day wear it. I’m sure this approach might generate ideas that might not otherwise occur to someone!

~ BONUS ~

My favorite jeweler is silversmith Jigoro ARAKAWA, who makes jewelry under the brand name Gigor. I had seen this video long before I would be using some of the tools in it myself, but it was nice to come back to it and be able to say, “I know what he’s using that for now!”

High School

The Jeweler’s Apprentice

I’ve begun my full-time student teaching at none other than Cass Technical High School, my alma mater. At first I thought I would be in the Art Composition classroom, meaning I would be working mostly with freshmen in 2D. But I ended up with the lead art teacher, who teaches Fashion, Jewelry, Textiles, and Studio Art 3D, primarily to the upperclassmen. I have zero training in Jewelry and Textiles, and only informal “training” in Fashion (think “How to Draw” book for little kids that I went through in elementary school). So I was a bit concerned about how this placement would go.

Luckily, my mentor teacher was all for having me be more “student” than “student-teacher” in the Jewelry and Textiles classes. I’ll introduce my first experiences with textiles in a later post. Here, I’ll talk about my first-ever jewelry piece.

The first assignment students had was to create a monogram in copper. They had The Encyclopedia of Monograms compiled by Leonard G. Lee to use as reference. I looked through the options for all possible combinations of my initials, but the ones I liked were quite ornate and I worried I might not be able to cut them out in metal very well. Ultimately, I borrowed elements from other monograms to create my own “EV” with a hint of an “A”—a design that would be appropriate for my first attempt at small-scale metalwork.

We photocopied my sketch, reducing it to 85%. I then cut out the copy and glued it unto a piece of copper that was cut down with metal shears to be just big enough for the design. Waste not, want not!

After my mentor showed me how to use a punch to mark where to drill to create the negative spaces, a student showed me how to use the drill press. I’ve used one for woodworking before so this part at least felt a bit familiar. Another student showed me how to place the blade into the jeweler’s saw and how to cut the metal. All was going well until I had to turn a corner. I looked in The Complete Metalsmith by Tim McCreight but didn’t find an answer. My ungraceful workaround was to simply make multiple cuts within the space. One broken saw blade later, I got a demo from my mentor, and described the proper technique thus in my sketchbook:

TURNING THE BLADE W/IN A SPACE: This was the hardest thing to intuit. When working w/ wood, I’ve just drilled 2 holes w/in the space. But there is a way to turn the blade instead. Similar to “filing w/ the saw,” the main thing is to stay in the channel, turning the piece veeeeery slowly so as to slowly widen the channel. In a way, it’s not really a turn at all. It’s more like a せんす opening.

The piece fully cut, but before sanding.

A せんす (sensu) is a folding fan. Once I had this image in mind, I was able to cut out all the remaining negative spaces. I broke two more saw blades getting everything cut, but that’s not too bad for an amateur, is it? (Ahaha)

The next step was filing and sanding. This was also something I was quite familiar with through woodwork. I had sanded some of my pieces down until they were soft enough to want to rest your face on! I had also restored my car’s headlight lenses relatively recently, so I knew that, counterintuitive thought it seemed, the way to get something nice and shiny was to first scratch it up.

As I sanded the piece, I noticed that it looked better upside-down. While I prefer to go as “EV” if I’m only using one last name, the piece looked far more dynamic when flipped and turned, making it read more as “EA.” This orientation also had the added benefit of putting a small opening near the top—a prime spot for a jump ring.

I used a “Twirl-a-Ring” tool to make jump rings out of 18 gauge wire.

I haven’t done any soldering yet, so one of the more advanced students soldered the jump ring shut for me. It made me think about all the times I had used pliers to close a jump ring that had opened up on a phone strap, key chain, or other such accessory. How nice to know that wouldn’t be a problem with this piece!

I added one last feature to this piece by curving it by hand against the horn of an anvil. I hadn’t wanted to add texture, so this gave dimension to an otherwise flat piece.

Once that was done, I learned how to polish it on the buffing machine. But doing so revealed some deep scratches I hadn’t seen before. I went back to a medium grit sandpaper to get them out, then back up to fine, then went back to the machine but…I couldn’t get an even polish, and in any case, I had once again revealed other surface imperfections, albeit small ones. My mentor suggested I use steel wool to create a satin finish. I did so, and am mostly satisfied with the result. Some spots always look strange, but I think it might be the oil from my fingers. In any case, I think it isn’t bad for my first attempt at metal jewelry-making, and it probably makes the students feel more confident to know that they were the ones teaching the teacher!

Now I just need a nice chain : )