Folk Art, High School

Of Embroidery & Life Skills

I never imagined as a child that the tira de economia I was making would one day become a teaching material in a high school Fibers class.

My “tira de economia” (left) and a quilted pillow I made from a Creative Circle kit (right)
“If you didn’t have to embroider a manta cloth in school…you didn’t have a childhood!” exclaims this macro from an Honduran Facebook group

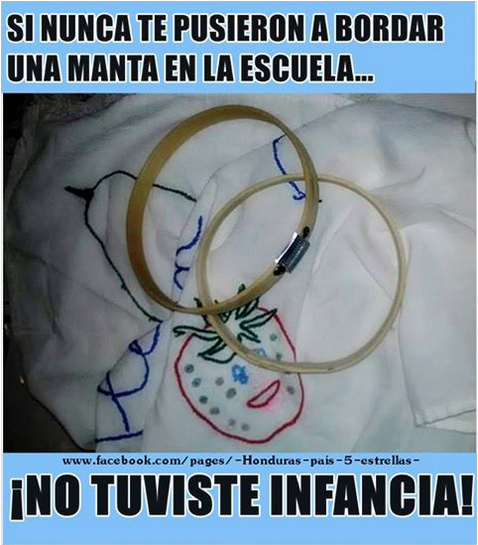
It had been common in Honduran elementary schools to teach children sewing and basic embroidery. Apparently, the practice has fallen by the wayside, if the image to the right and comments on it are any indication. Although I never got to do it in school because my family immigrated to the US before I got to the grade this was done in, my mother did take it upon herself to teach me how to make a tira de economia.

The tira de economia consists of a strip of manta cloth with rows of the various basic stitches one can use in sewing and embroidery. For example, besides the basic running stitch, there’s the buttonhole stitch (AKA blanket stitch), zigzag stitch, and chain stitch. (Chains were my favorite!) Having made one of these strips, children would then have to use the various stitches to create an image in embroidery, much like that happy strawberry there.

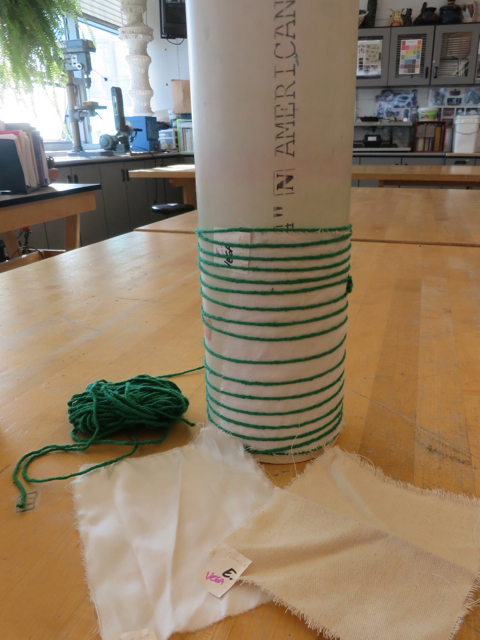
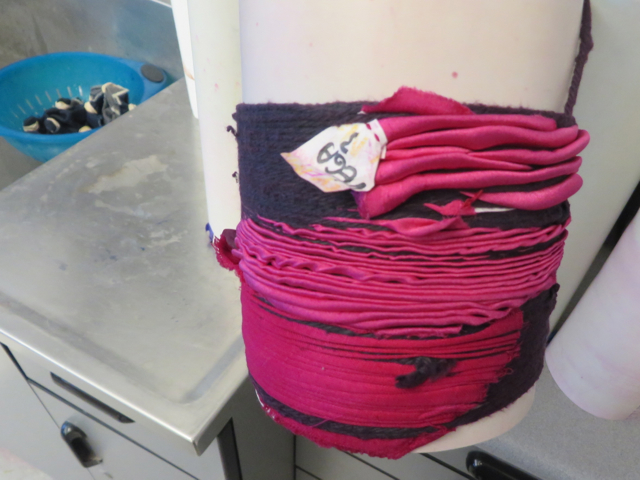
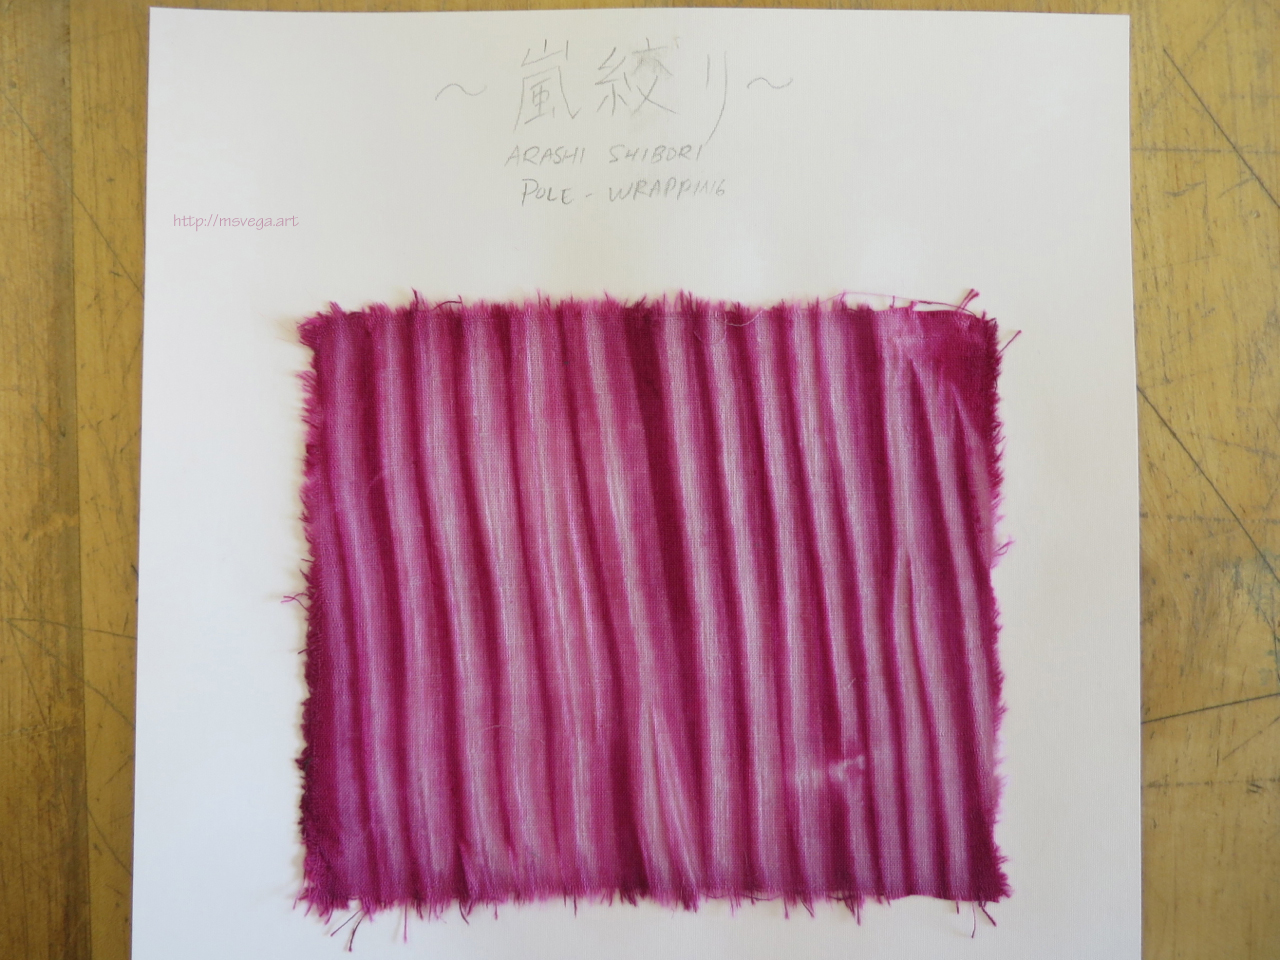
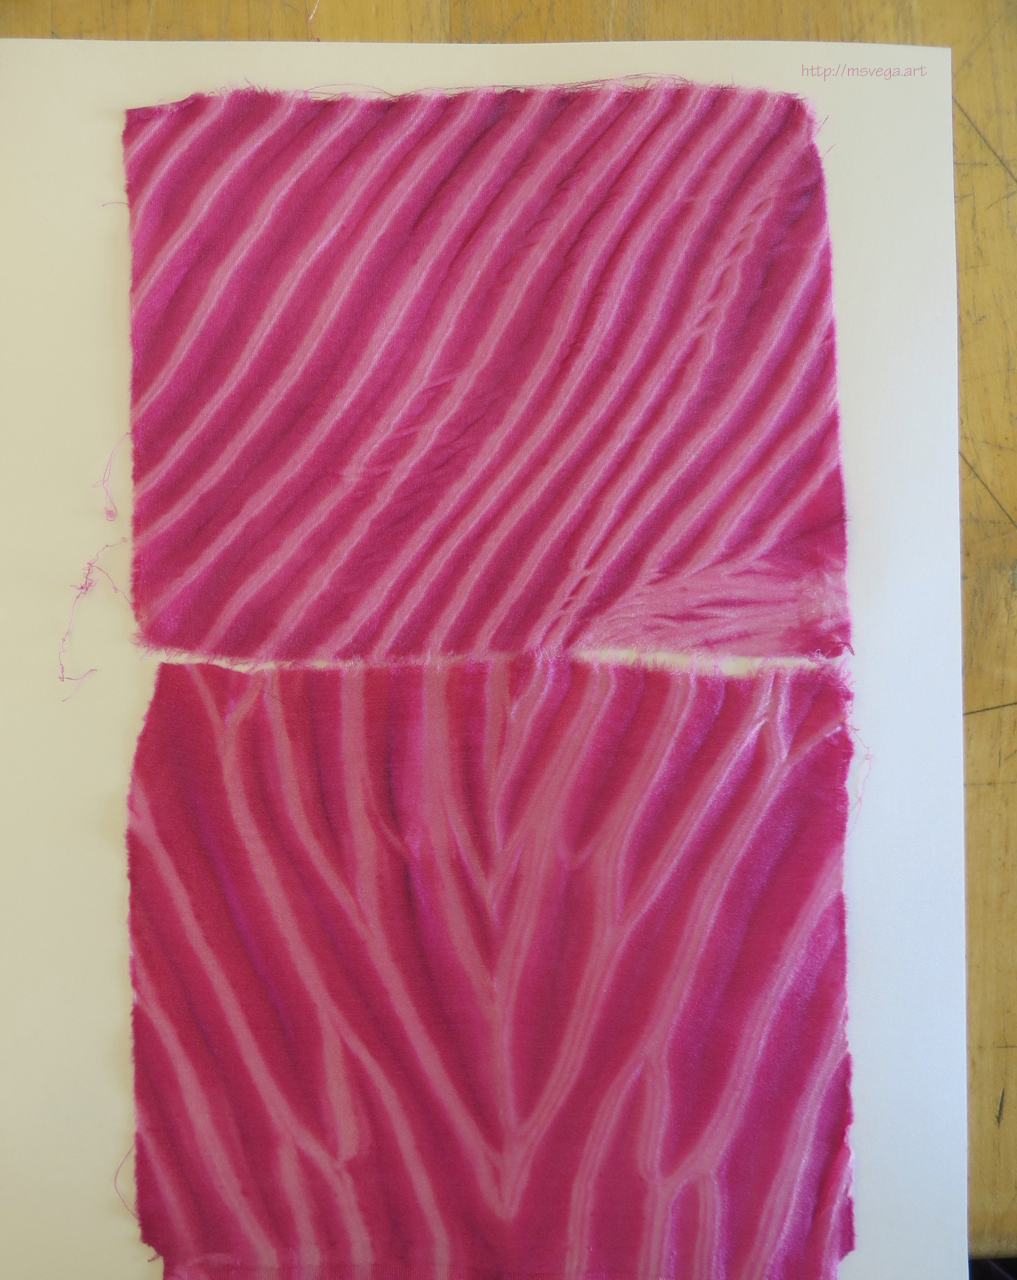
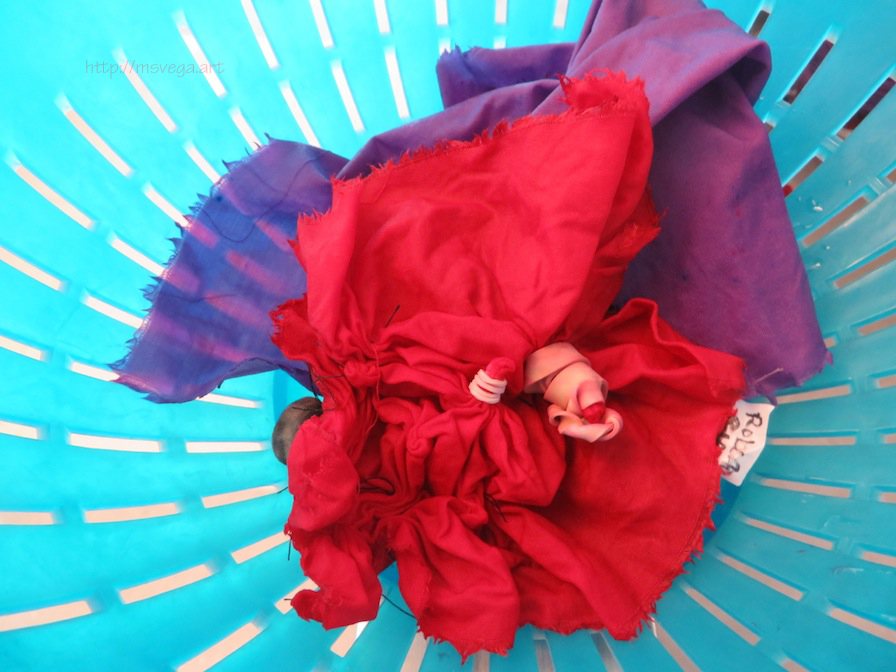
Fast forward to the present day. The students in Fibers class were making “quilt squares” out of fabric they had dyed with shibori techniques. My mentor teacher suggested that I show the students how to do embroidery to embellish their projects. So, I would show them my tira de economia and briefly explain what it was, and that these were the stitches I could show them how to do. I also showed them the quilting project I had done years ago, so that they could see how stitching is used in conjunction with images on fabric. For the most part, students asked me to show them how to do the running stitch and chain stitch.

Click the thumbnails in the gallery below to see some of the pieces I helped students with!

One thing that I particularly enjoyed about this project was the chance to teach students life skills they might not otherwise have picked up. To my surprise, only a few of the girls said they knew how to make basic repairs to clothes, such as mending and sewing on buttons. I saw students doing ineffective things, such as attempting to make a big knot by tying a series of single knots instead of just rolling the doubled-up thread between their fingers to make several knots simultaneously. Most students were taking the needle off their embroidery floss to tie the knot at the end to secure their work. This is much harder than using the needle itself to thread a knot. One student, somewhat to his credit, tried wrapping the thin thread around a pencil to make it easier to knot. I asked him if he was making his life difficult, showed him how to make a knot with the needle, and upon seeing how simple the solution was, he exclaimed, “JESUS CHRIST” in disbelief.

I couldn’t help but think about a video a friend had showed me about how “America should teach basic life skills like Japan does.” While my personal experience in Japan leads me to believe the video paints a very skewed picture of home ec education in Japan (it’s not nearly as gender equal as the video claims, for one), I must also admit that American students, forced to endure an environment that focuses so much on standardized testing, aren’t getting many classes that are hands-on anything. Also, perhaps in a drive to eliminate sexist practices in schools, instead of making shop and home ec classes that all students had to take regardless of gender, such classes were eliminated all together. Funding of course also comes into play. That said, some young people might complain in videos like the one made by ATTN (linked above) about not getting life skills in school, but even when students do get a chance to be in classes such as anything in the applied arts, they’re not necessarily jumping for joy at the chance to learn life skills; they might not realize that is in effect what they’re learning. They think they’re just making an image of flowers in a vase. It’s important for teachers to spell things out for students sometimes, because they might not see how something in the classroom connects to the “real world” outside of school.

High School

Shibori ~Japanese Resist Dye Techniques~

Besides Jewelry, the other class my mentor teaches is Fibers. One of her favorite dye techniques is shibori, which is, to put it simply, Japanese tie-dye. However, there are many more techniques in the arsenal of a shibori dyer than the tie-dye that was most popular in the US during the 1960s and 70s. I started practicing these techniques with the Fibers class while also reading up on them so that I would be able to introduce them to the 3D Studio Art class later. (More on that in another blog post!)

An indigo uchiwa (hand fan)

Despite having lived in Japan for four years, I didn’t know about shibori. At least, I don’t think I did. But when I saw the board about it in my mentor teacher’s classroom, I knew I had seen it before. When I was an undergrad, I went on a short study abroad program. The fan pictured to the left was a gift from my host family in Hiroshima. It’s possible they explained everything about it to me when they gave it to me and I didn’t understand; I had only been studying Japanese for two years at that point, after all.

At first, I couldn’t figure out how the pattern in this fan had been made. Now I’m pretty sure I know exactly how they did it. But it sure took a while to get to this point!

I started out by doing what the students had done at first: dye small pieces of fabric to test out the various techniques. The first one I tried out was arashi, which means “storm.” By wrapping fabric around a pole or pipe and binding it tightly with yarn, one can create straight lines that resemble rain coming down hard.

The fabric is first placed on the pole fully extended, then bound to it with yarn or string.
Once you get to the top of the fabric, you slide it down the pipe so it bunches up like this.

I also tried the techniques of folding & clamping, bean-binding, and stitched shibori. Unfortunately, I didn’t take photos of the results of all of these, and they are currently at the school. But there’s still plenty I can show while still getting this post up in a somewhat timely manner!

Folding & clamping fabric between blocks and between paper clips. The reading underneath is an excerpt from Yoshiko Wada’s book “Shibori.”


The pipe after the dye bath

I first tried out the arashi technique using one piece of rayon and two pieces of silk. The rayon piece I placed flat and straight on the pipe. I put one silk piece on at an angle, and the other one I first folded in half, then placed it on the pipe straight. Getting the silk to stay put as I bound it was a bit of a challenge, but I got by with the help of a few pieces of strategically placed painter’s tape that I removed before placing the pipe into the dye bath.

As these were just samples, neither I nor the students got to specify which color the pieces of cloth would be dyed. It was the luck of the draw that I ended up with one of my favorite colors! Getting the clothes off the pipes (once they were dry) was exciting, but the true nature of the patterns wouldn’t be revealed without a thorough ironing!

The results of my arashi experiment on rayon.

The result of the arashi technique on silk

I especially liked the pinstripes on this last sample. I wasn’t expecting them! The organic lines were also a surprise; there had been odd bulges in the silk because it was hard to keep it from moving around on the pipe, hence why the lines didn’t come out all parallel to each other as they’re supposed to with this technique. Some students said this made the fabric look like butterfly wings. I thought of a leaf.

After making several samples, it was my turn to actually make the dye bath myself. I learned how to make the dye solution for room temperature dyeing by boiling water and adding salt and soda ash to it. Before putting the piece in the dye, however, it must be placed in mildly soapy water to remove any sizing the fabric might have. Then it can go in the dye bath!

The pigment comes in powder form.
Old yogurt and soda ash containers working hard!
This color is called “Strongest Red”—for a reason!

The piece above might actually be for a certain special cape I made for a Halloween “Dress Up Skeleton.” But that’s a whole ‘nother story!

Eventually I was entrusted with dyeing the students’ pieces. I’m relieved when they ask for a color that we have in stock straight from the bottle, because I’ve been a little off when I have to try to mix dyes. It is the first time I do this, so I suppose my results aren’t too shabby, although there’s still much I need to learn about this process.